
上一篇讲了PaddleOCR的简单使用,但是最终的目的肯定是要将它进行服务部署方便我们调用的,这里介绍一下他的服务部署方式
选择部署方式
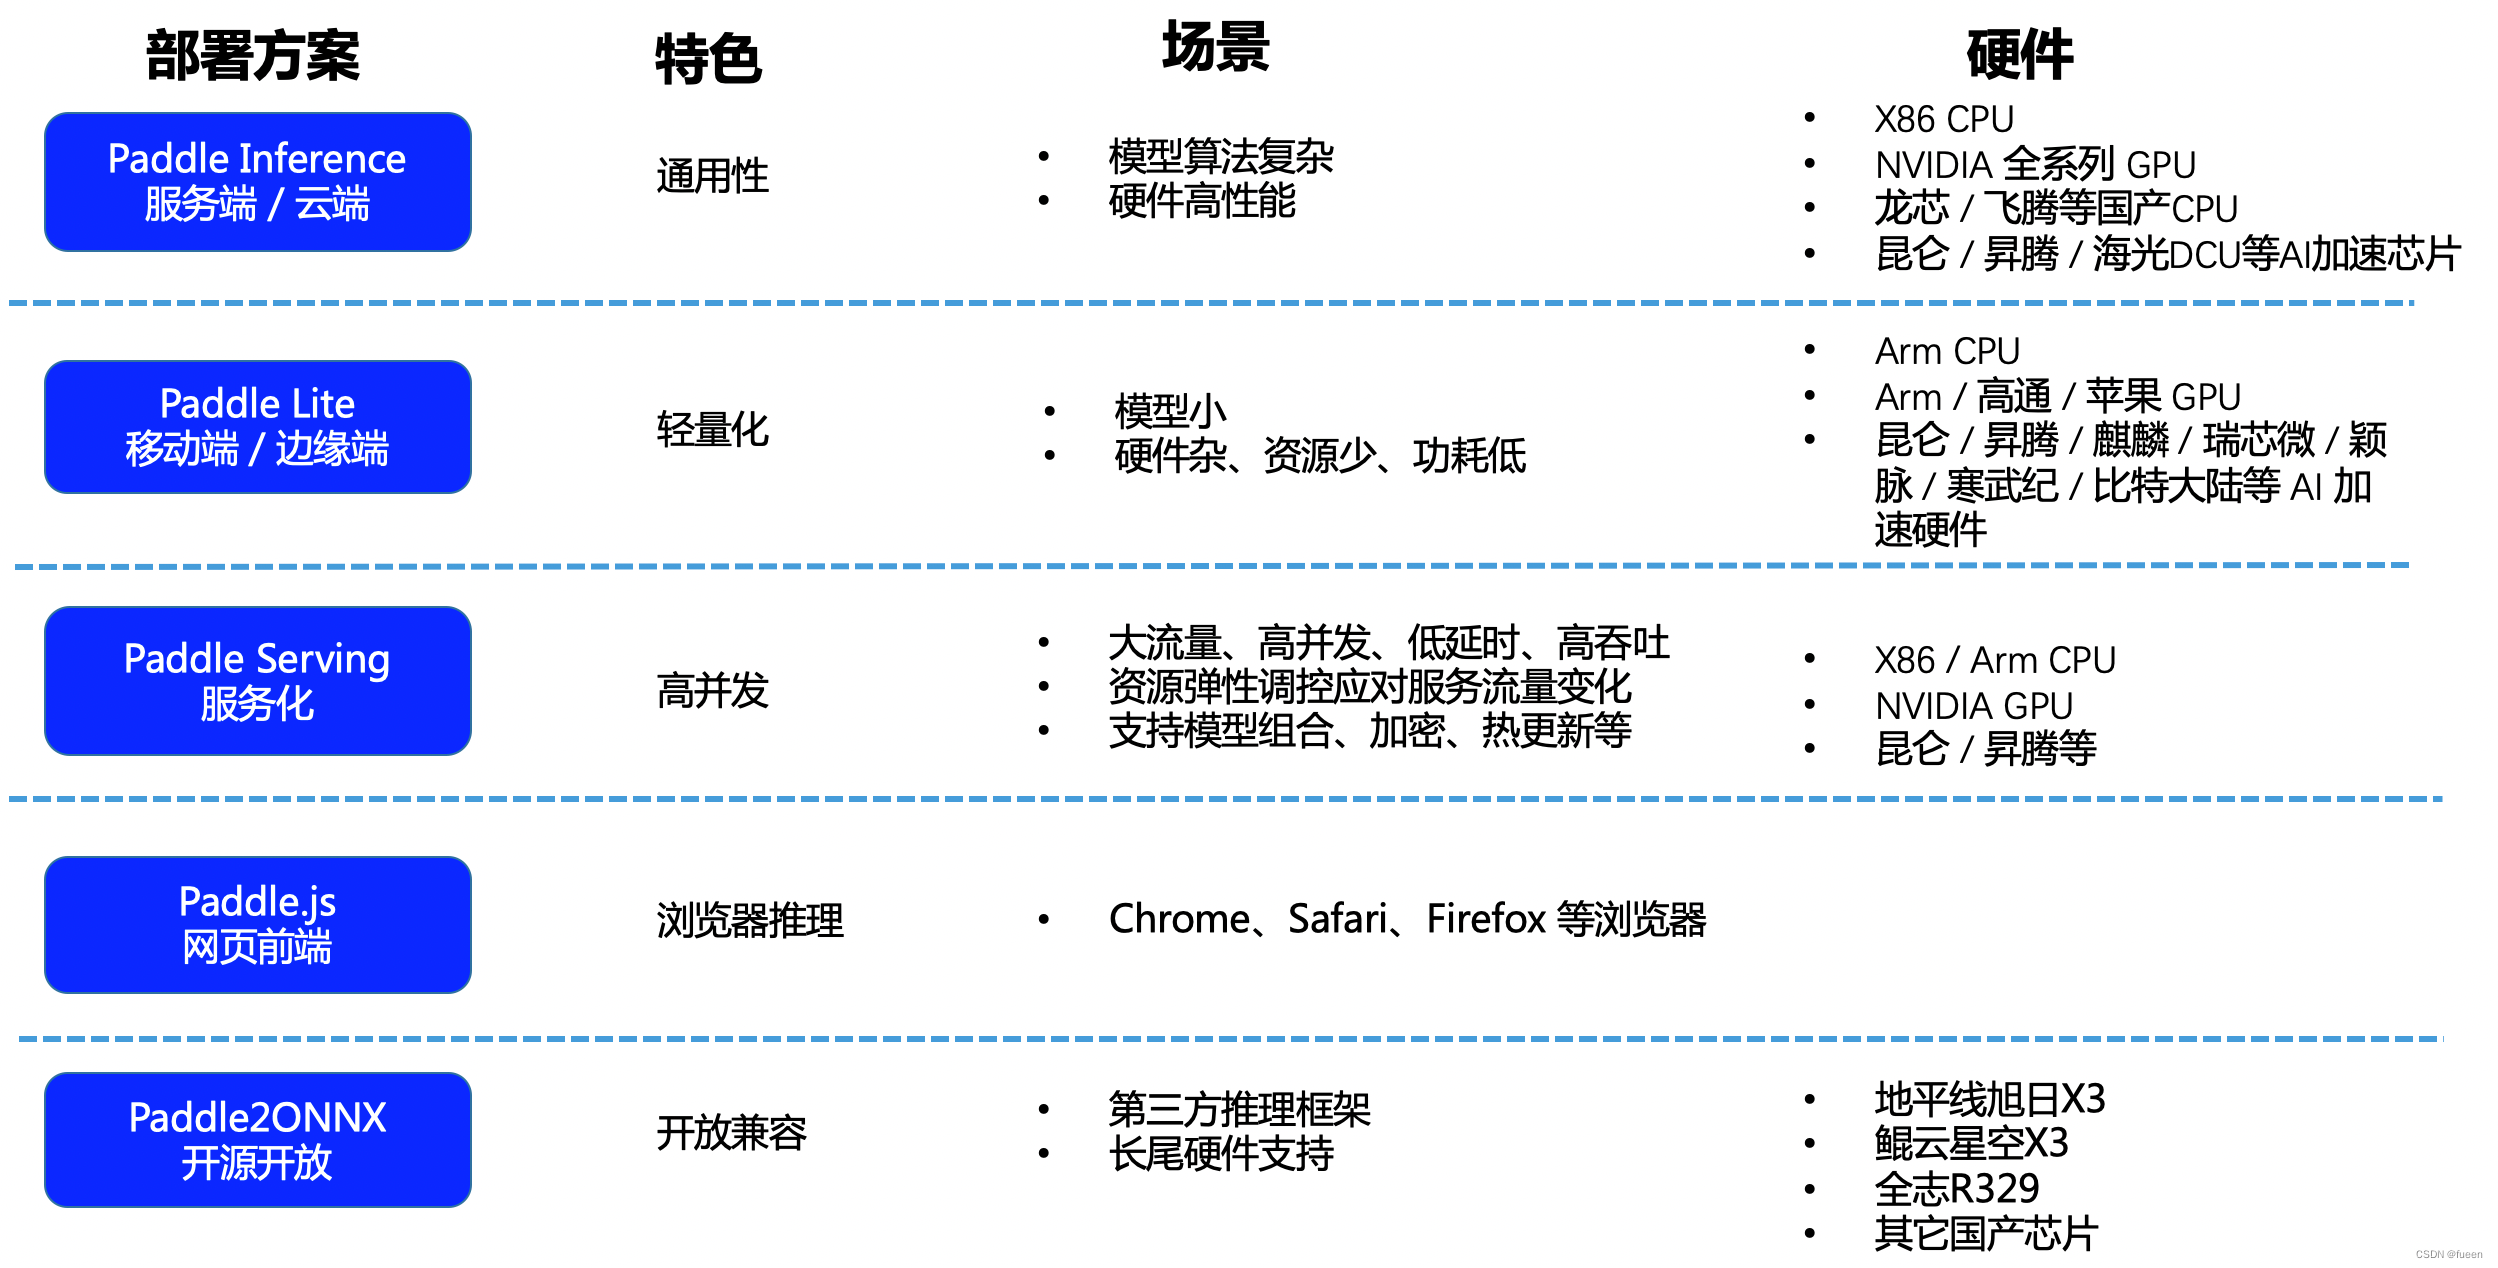
官方推荐有以下几种:
Python 推理
C++ 推理
Serving 服务化部署(Python/C++)
Paddle-Lite 端侧部署(ARM CPU/OpenCL ARM GPU)
Paddle.js 部署
各个方式优缺点如下
讯享网
基于PaddleHub Serving的部署; 基于PaddleServing的部署 讯享网
我选择的是通过PaddleHub Serving进行部署
安装Hub Serving
准备环境
讯享网pip install paddlehub -i https://mirror.baidu.com/pypi/simple
安装好之后查看一下
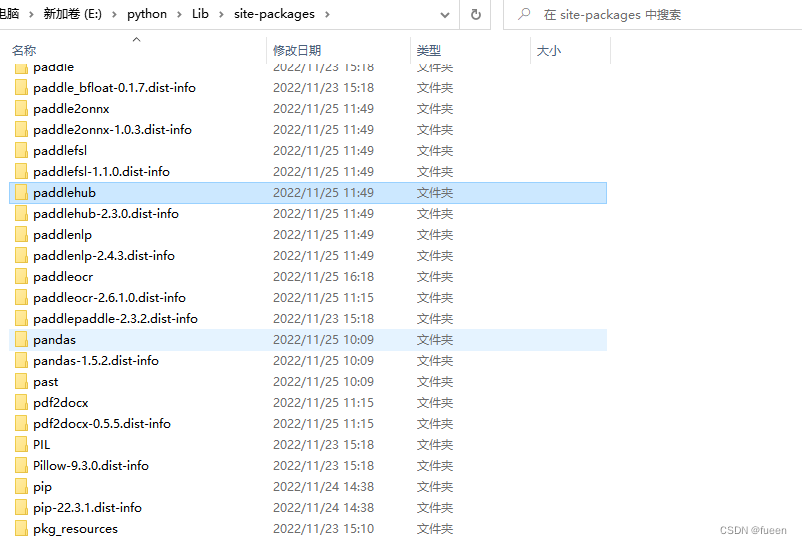
下载推理模型
PaddleOCR下新建‘inference’文件夹,准备推理模型并放到‘inference’文件夹里面,默认使用的是v1.1版的超轻量模型

https://github.com/PaddlePaddle/PaddleOCR/blob/develop/doc/doc_ch/quickstart.md
默认模型路径为:
检测模型:./inference/ch_ppocr_mobile_v1.1_det_infer/
识别模型:./inference/ch_ppocr_mobile_v1.1_rec_infer/
方向分类器:./inference/ch_ppocr_mobile_v1.1_cls_infer/
模型路径可在params.py中查看和修改。 更多模型可以从PaddleOCR提供的模型库下载,也可以替换成自己训练转换好的模型。

安装服务模块
#在Linux环境下,安装示例如下: # 安装检测服务模块: hub install deploy/hubserving/ocr_det/ # 或,安装识别服务模块: hub install deploy/hubserving/ocr_rec/ # 或,安装检测+识别串联服务模块: hub install deploy/hubserving/ocr_system/ #在Windows环境下(文件夹的分隔符为\),安装示例如下: # 安装检测服务模块: hub install deploy\hubserving\ocr_det\ # 或,安装识别服务模块: hub install deploy\hubserving\ocr_rec\ # 或,安装检测+识别串联服务模块: hub install deploy\hubserving\ocr_system\ 这里最好把这几个模块都安装上,不然启动的时候会报错
启动服务
启动方式分两种,一种是全局启动,一种是指定到路径启动
讯享网#全局启动 hub serving start -m ocr_system
我这里采用的是指定路径启动,需要切换到hubserving目录下通过命令
hub serving start -c deploy\hubserving\ocr_system\config.json 启动的其他参数参照官方文档说明
这样就完成了一个服务化API的部署,使用默认端口号8868。
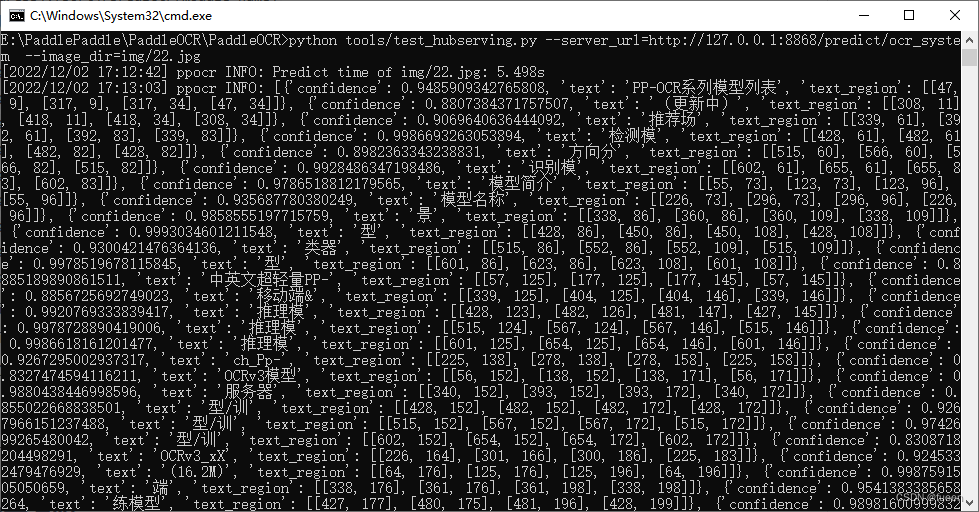
访问示例:
python tools/test_hubserving.py --server_url=http://127.0.0.1:8868/predict/ocr_system --image_dir=img/22.jpg
输出结果:
Java调取
我们可以通过Java代码进行服务的调取,代码如下:
讯享网/ * @author: fueen * @createTime: 2022/11/28 10:01 */ @RestController @RequestMapping("/paddleocr") public class PaddleOCRController {
@PostMapping("/upload") public String fileUpload(@RequestParam("file") MultipartFile file, HttpServletRequest req, Model model){
try {
//接收上传文件 //Receiving uploaded files String fileName = System.currentTimeMillis()+file.getOriginalFilename(); String destFileName=req.getServletContext().getRealPath("")+"uploaded"+ File.separator+fileName; File destFile = new File(destFileName); destFile.getParentFile().mkdirs(); System.out.println(destFile); file.transferTo(destFile); //向前端模板引擎传入上传文件的地址 //The address of the uploaded file is passed in to the front-end template engine model.addAttribute("fileName","uploaded\\"+fileName); model.addAttribute("path",destFile); //开始准备请求API //Start preparing the request API //创建请求头 //Create request header HttpHeaders headers = new HttpHeaders(); //设置请求头格式 //Set the request header format headers.setContentType(MediaType.APPLICATION_JSON); //构建请求参数 //Build request parameters MultiValueMap<String, String> map = new LinkedMultiValueMap<String, String>(); //读入静态资源文件 //Read the static resource file InputStream imagePath = new FileInputStream(destFile); //添加请求参数images,并将Base64编码的图片传入 //Add the request parameter Images and pass in the Base64 encoded image map.add("images", ImageToBase64(imagePath)); //构建请求 //Build request HttpEntity<MultiValueMap<String, String>> request = new HttpEntity<MultiValueMap<String, String>>(map, headers); RestTemplate restTemplate = new RestTemplate(); //发送请求 //Send the request Map json = restTemplate.postForEntity("http://127.0.0.1:8868/predict/ocr_system", request, Map.class).getBody(); System.out.println(json); //解析Json返回值 //Parse the Json return value List<List<Map>> json1 = (List<List<Map>>) json.get("results"); //获取文件目录为后面画图做准备 //Get the file directory to prepare for later drawing String tarImgPath = destFile.toString(); File srcImgFile = new File(tarImgPath); System.out.println(srcImgFile); //文件流转化为图片 //The file flows into images Image srcImg = ImageIO.read(srcImgFile); if (null == srcImg){
return "什么也没有,结束!"; } //获取图片的宽 //Gets the width of the image int srcImgWidth = srcImg.getWidth(null); //获取图片的高 //Get the height of the image int srcImgHeight = srcImg.getHeight(null); //开始绘图主流程,创建画板设置画笔颜色等 //Start drawing main flow, create artboard, set brush color, etc BufferedImage bufImg = new BufferedImage(srcImgWidth, srcImgHeight, BufferedImage.TYPE_INT_RGB); Graphics2D g = bufImg.createGraphics(); g.setColor(Color.red); g.drawImage(srcImg, 0, 0, srcImgWidth, srcImgHeight, null); //循环遍历出所有内容 //Loop through everything for (int i = 0; i < json1.get(0).size(); i++) {
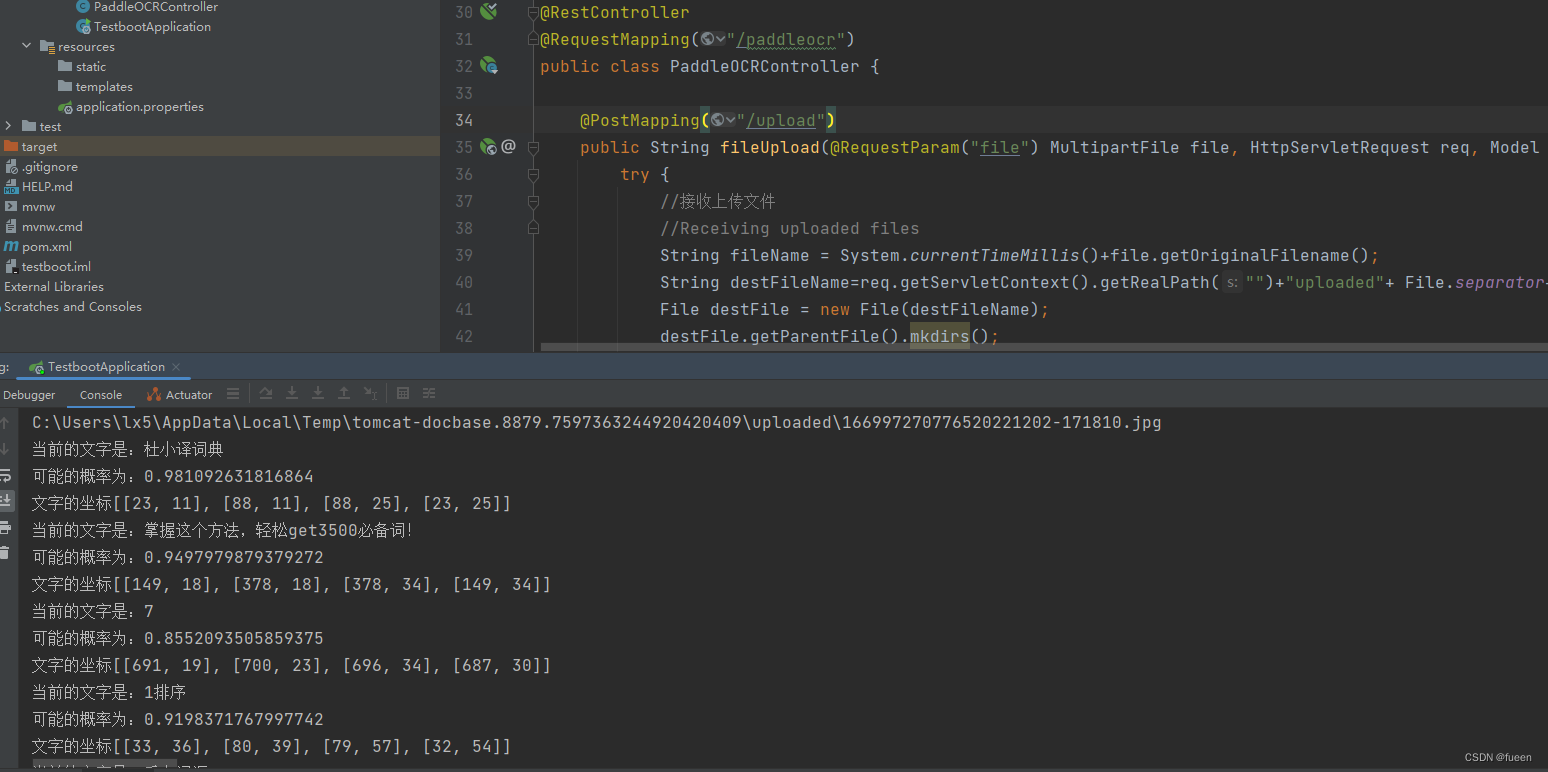
System.out.println("当前的文字是:" + json1.get(0).get(i).get("text")); System.out.println("可能的概率为:" + json1.get(0).get(i).get("confidence")); List<List<Integer>> json2 = (List<List<Integer>>) json1.get(0).get(i).get("text_region"); System.out.println("文字的坐标" + json2); int x = json2.get(0).get(0); int y = json2.get(0).get(1); int w = json2.get(1).get(0)-json2.get(0).get(0); int h = json2.get(2).get(1)-json2.get(0).get(1); g.drawRect(x,y,w,h); //画出水印 Draw the watermark } //将内容提交到前端模板引擎 //Submit the content to the front-end template engine model.addAttribute("z",json1.get(0)); g.dispose(); // 输出图片 //The output image FileOutputStream outImgStream = new FileOutputStream(tarImgPath); ImageIO.write(bufImg, "png", outImgStream); System.out.println("画图完毕"); outImgStream.flush(); outImgStream.close(); } catch (FileNotFoundException e) {
e.printStackTrace(); return "上传失败," + e.getMessage(); } catch (IOException e) {
e.printStackTrace(); return "上传失败," + e.getMessage(); } return "OK"; } private String ImageToBase64(InputStream imgPath) {
byte[] data = null; // 读取图片字节数组 //Read the image byte array try {
InputStream in = imgPath; System.out.println(imgPath); data = new byte[in.available()]; in.read(data); in.close(); } catch (IOException e) {
e.printStackTrace(); } // 对字节数组Base64编码 //Base64 encoding of byte array BASE64Encoder encoder = new BASE64Encoder(); // 返回Base64编码过的字节数组字符串 //Returns a Base64 encoded byte array string //System.out.println("图片转换Base64:" + encoder.encode(Objects.requireNonNull(data))); return encoder.encode(Objects.requireNonNull(data)); } }
然后运行,通过postman调取接口进行测试
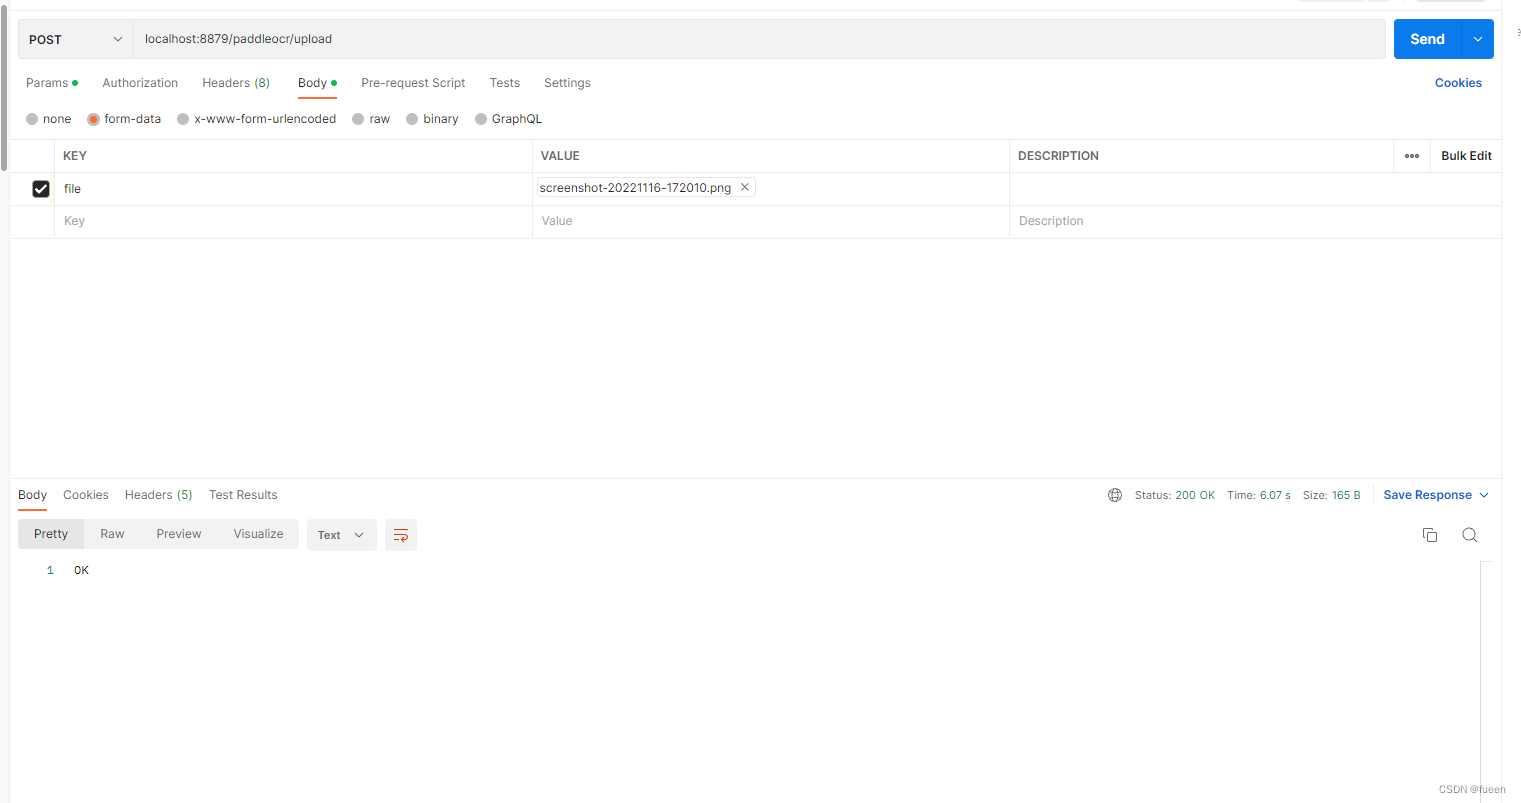
控制台输出结果
完成!后面可以根据自己的业务需求来进行不同的处理修改
版权声明:本文内容由互联网用户自发贡献,该文观点仅代表作者本人。本站仅提供信息存储空间服务,不拥有所有权,不承担相关法律责任。如发现本站有涉嫌侵权/违法违规的内容,请联系我们,一经查实,本站将立刻删除。
如需转载请保留出处:https://51itzy.com/kjqy/67311.html