
要想完全把OpenClaw完全用起来,飞书是必不可少一定要接入的。这篇文章力争通过较短时间2分钟即可让你的龙虾接入飞书。

确保你的OpenClaw已经安装好,并成功启动
打开命令行窗口:输入
openclaw –version如果显示类似下面的版本号出来,就表示OpenClaw已经安装好了,否则请先把openclaw安装好。 我这里是2026.3.2的最新版本,你的就是显示你自己安装版本。
2026.3.2此时此刻,2026.2月份以后的版本,就不用单独安装飞书插件了。
此时此刻,2026.2月份以后的版本,就不用单独安装飞书插件了。
此时此刻,2026.2月份以后的版本,就不用单独安装飞书插件了。
如果安装了,请卸载掉,重新安装一次Openclaw。
你要做的是启用 飞书插件 ,在命令行中输入下面的命令启用
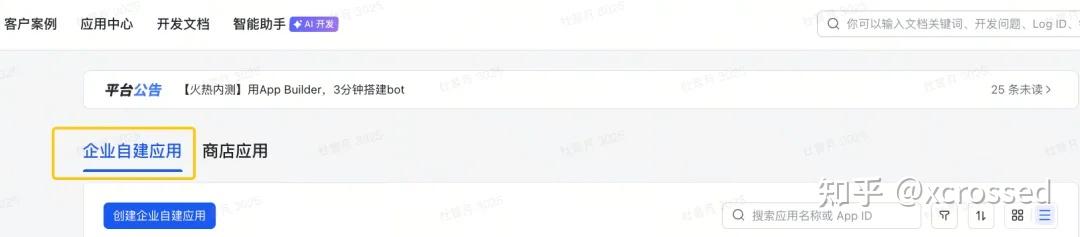
openclaw plugins enable feishu登录 https://open.feishu.cn/app 飞书开放平台创建一个应用,点击创建「企业自建应用」,非「商店应用」,填写应用的基础信息。
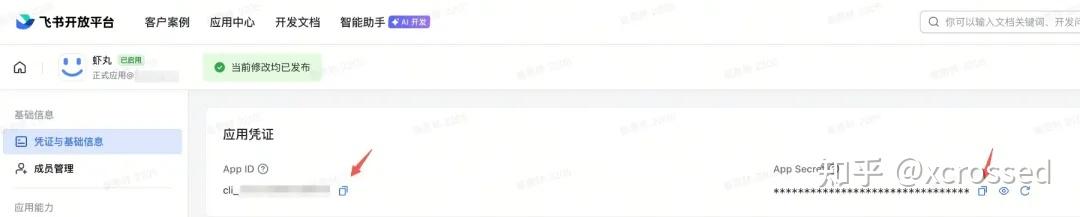
记录你创建应用的 App ID 和 App Secret 。
找到「应用能力」—>「添加应用能力」—>「按能力添加」—>选择【机器人】能力点击配置

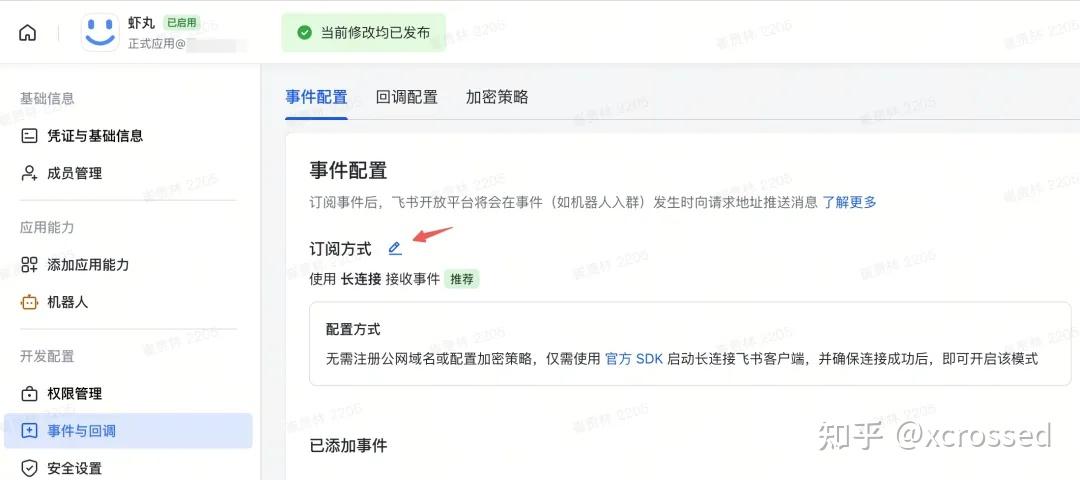
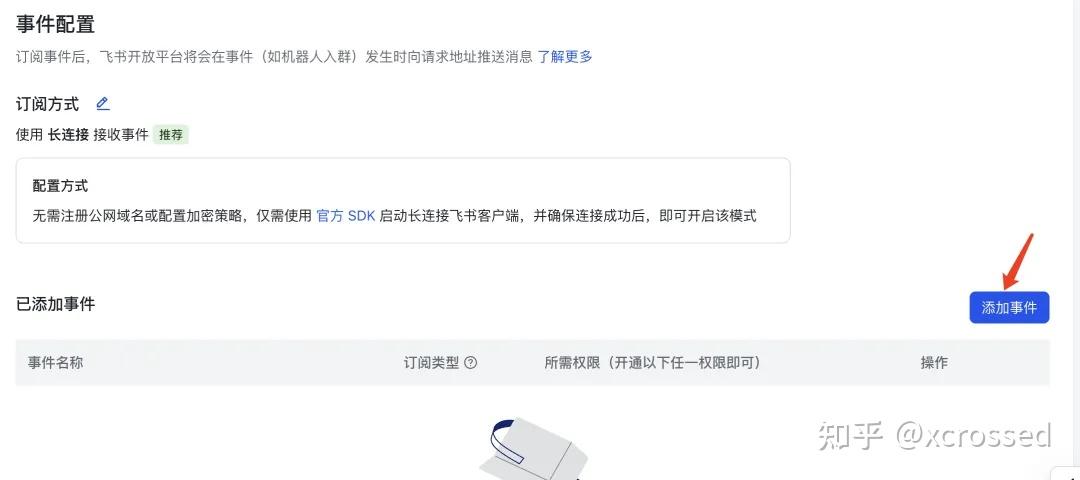
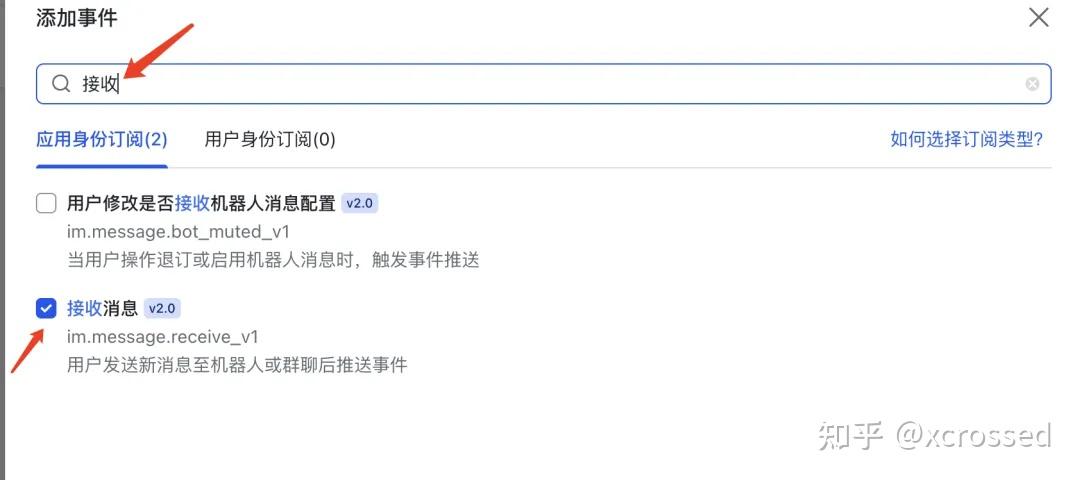
在“事件与回调”中设置“事件配置”订阅方式为“长连接”,并添加「接收消息」订阅事件。
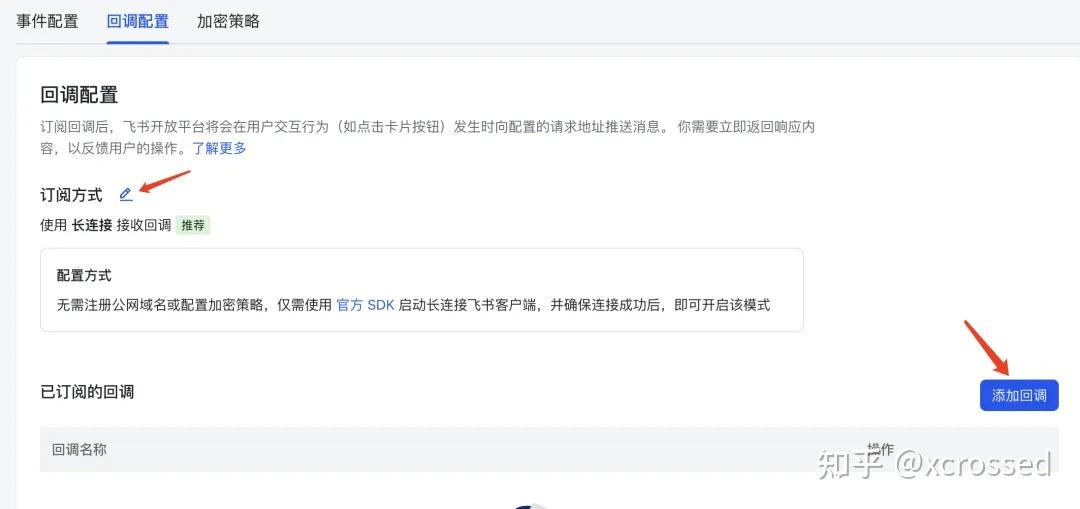
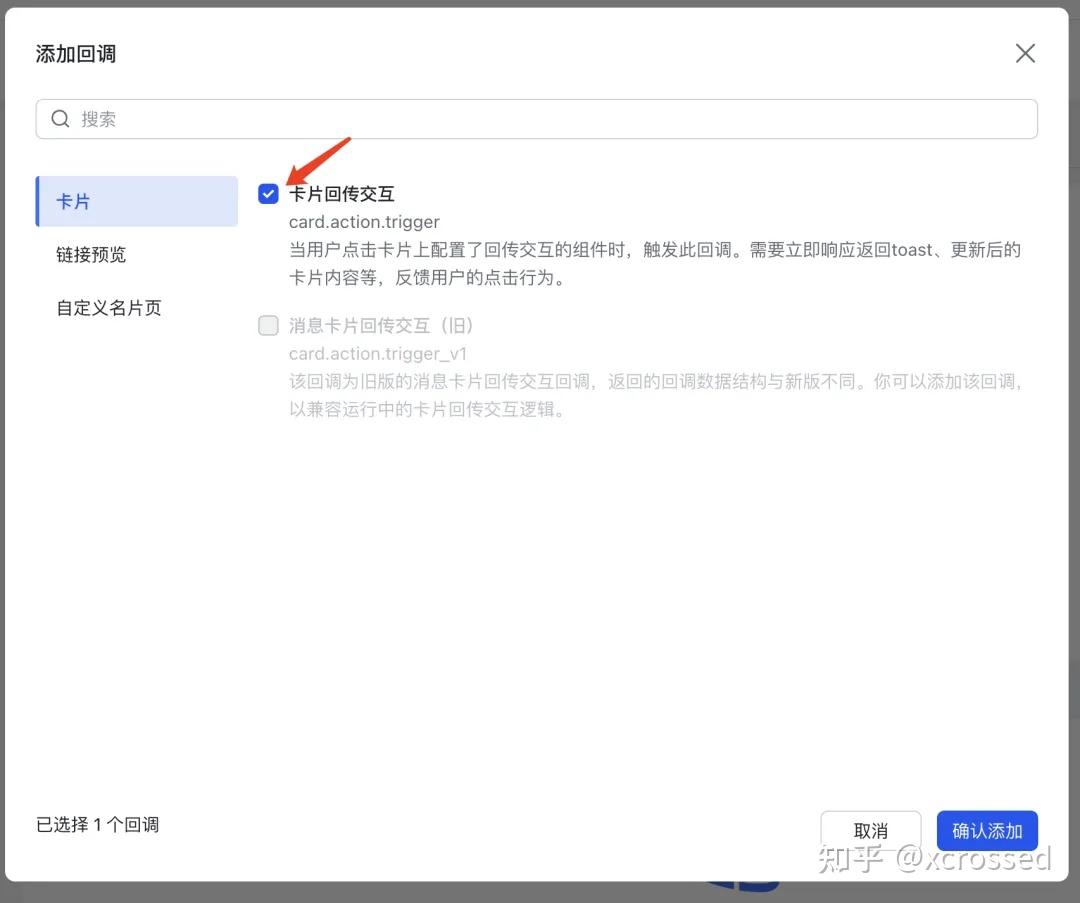
配置右侧的“回调配置” Tab,也设置为长连接,并添加回调“卡片回传交互”。
删除默认模板上的信息,直接将下方的代码库复制粘贴进去,点击下一步确认新增完毕。
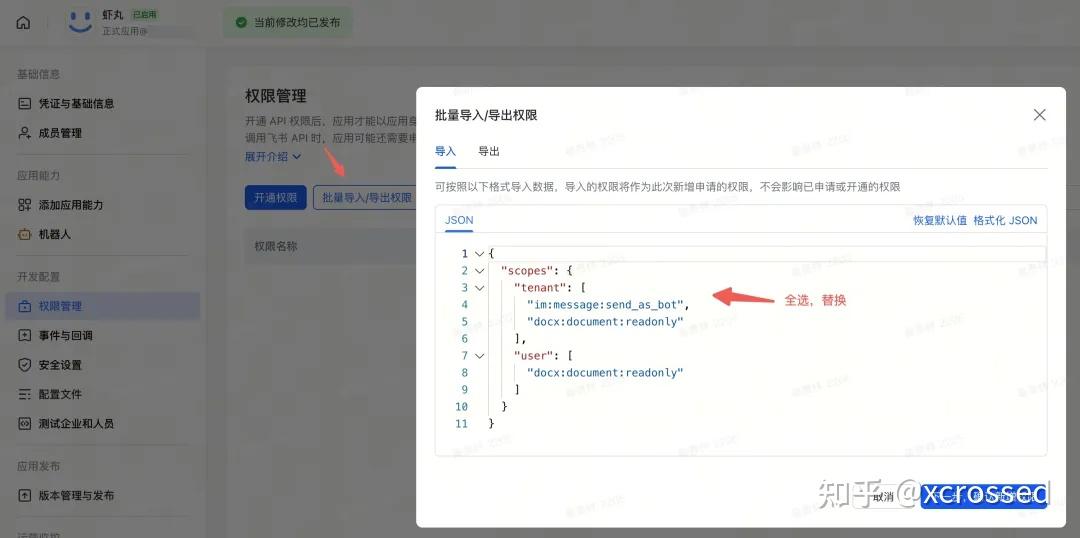
下面的这些权限都不需要审核的,都是免审权限,不需要你家的飞书管理员审核。
{ “scopes”: {"tenant": [ "application:bot.menu:write", "calendar:timeoff", "cardkit:card:write", "contact:contact.base:readonly", "contact:user.base:readonly", "directory:employee.base.background_image:read", "docs:document:import", "im:chat", "im:chat.access_event.bot_p2p_chat:read", "im:chat.announcement:read", "im:chat.announcement:write_only", "im:chat.managers:write_only", "im:chat.members:bot_access", "im:chat.members:read", "im:chat.members:write_only", "im:chat.menu_tree:read", "im:chat.menu_tree:write_only", "im:chat.moderation:read", "im:chat.tabs:read", "im:chat.tabs:write_only", "im:chat.top_notice:write_only", "im:chat.widgets:read", "im:chat.widgets:write_only", "im:chat:create", "im:chat:delete", "im:chat:moderation:write_only", "im:chat:operate_as_owner", "im:chat:read", "im:chat:readonly", "im:chat:update", "im:message", "im:message.group_at_msg:readonly", "im:message.group_msg", "im:message.p2p_msg:readonly", "im:message.pins:read", "im:message.pins:write_only", "im:message.reactions:read", "im:message.reactions:write_only", "im:message.urgent", "im:message.urgent.status:write", "im:message:readonly", "im:message:recall", "im:message:send_as_bot", "im:message:send_multi_depts", "im:message:send_multi_users", "im:message:send_sys_msg", "im:message:update", "im:resource", "im:url_preview.update", "im:user_agent:read", "optical_char_recognition:image" ], "user": [ "directory:employee.base.background_image:read", "docs:document:import", "im:chat", "im:chat.access_event.bot_p2p_chat:read", "im:chat.announcement:read", "im:chat.announcement:write_only", "im:chat.managers:write_only", "im:chat.members:read", "im:chat.members:write_only", "im:chat.moderation:read", "im:chat.tabs:read", "im:chat.tabs:write_only", "im:chat.top_notice:write_only", "im:chat:delete", "im:chat:moderation:write_only", "im:chat:read", "im:chat:readonly", "im:chat:update", "im:message", "im:message.pins:read", "im:message.pins:write_only", "im:message.reactions:read", "im:message.reactions:write_only", "im:message.urgent.status:write", "im:message:readonly", "im:message:recall", "im:message:update" ] } }
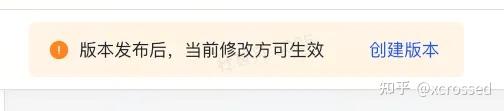
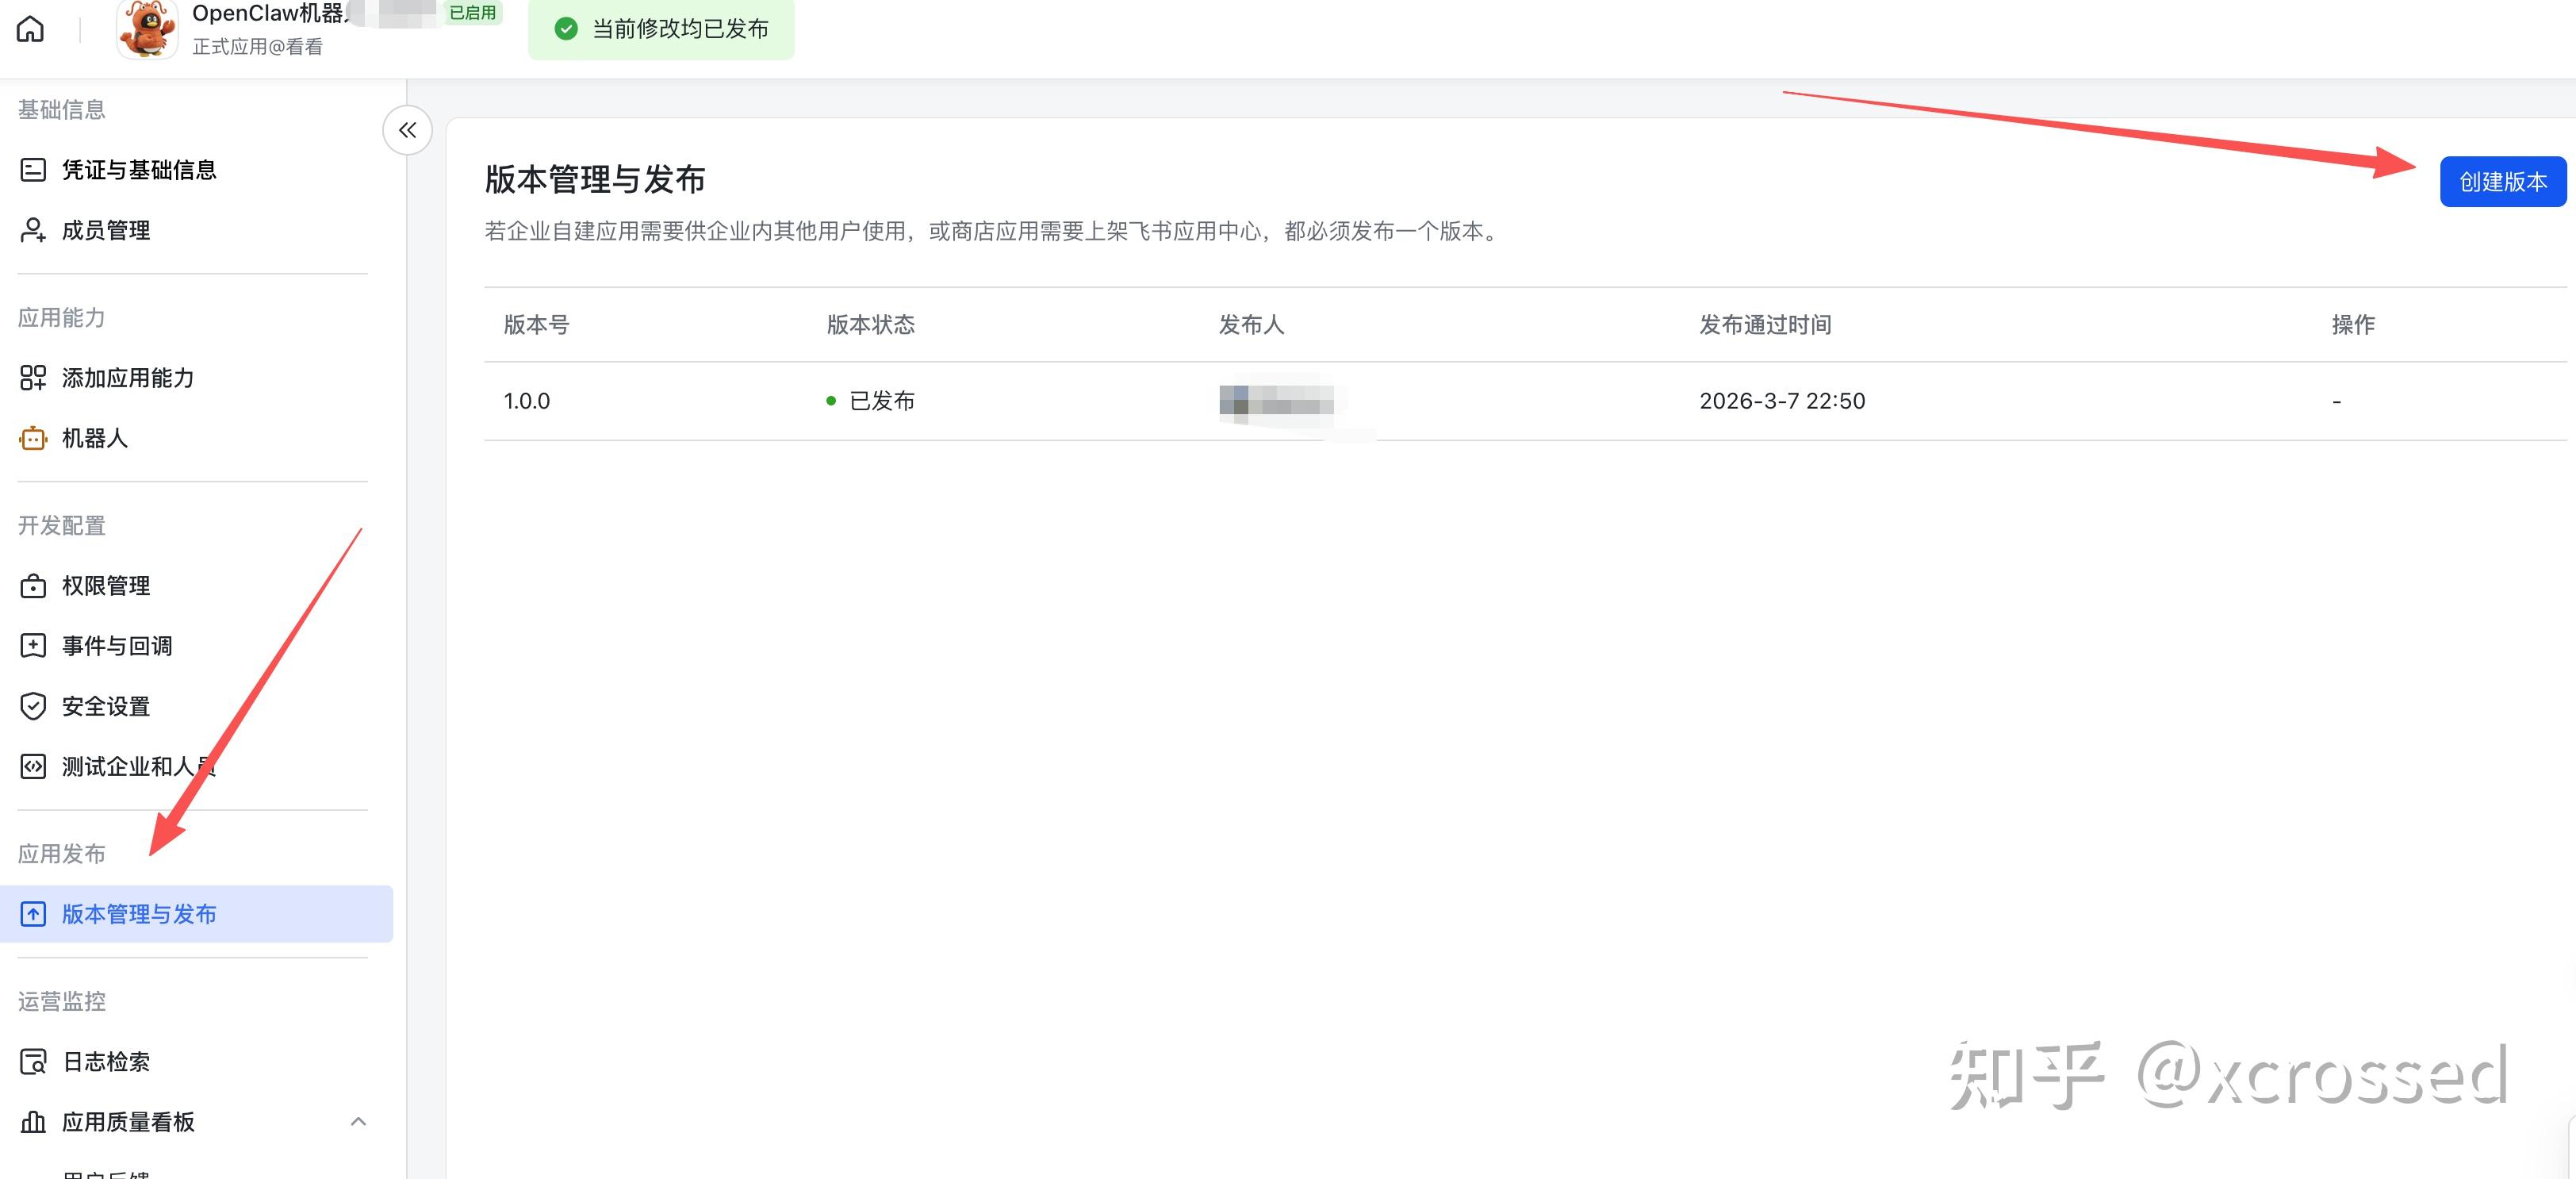
创建版本并发布。
把下面的{AppId} ,{AppSecret} 换成 第2步中保存的【应用的 App ID 和 App Secret 。】
openclaw config set channels.feishu.appId “{AppId}” openclaw config set channels.feishu.appSecret “{AppSecret}”openclaw config set channels.feishu.enabled true openclaw config set channels.feishu.connectionMode websocket openclaw config set channels.feishu.dmPolicy pairing openclaw config set channels.feishu.groupPolicy allowlist openclaw config set channels.feishu.requireMention true
打开你的飞书,搜索机器人并发送任意消息(比如 hi ),会收到类似这样的消息,收到这个消息说明飞书的消息已经成功被 OpenClaw 接收到了,但需要执行一下配对操作,以确认当前用户的管理员身份。
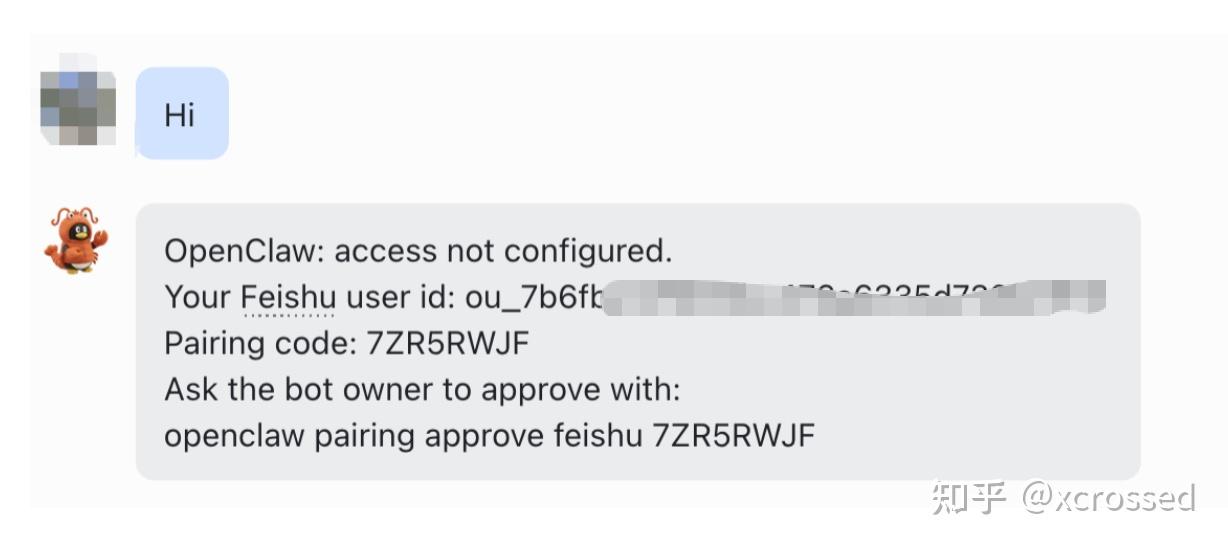
OpenClaw: access not configured. Your Feishu user id: ou_7bxxxxxxx Pairing code: 7ZR5RWJF Ask the bot owner to approve with: openclaw pairing approve feishu 7ZR5RWJF打开控制台,复制你自己的上面最后一行命令,在控制台执行,其实 xx 是你自己的,不要抄我的。
openclaw pairing approve feishu xxx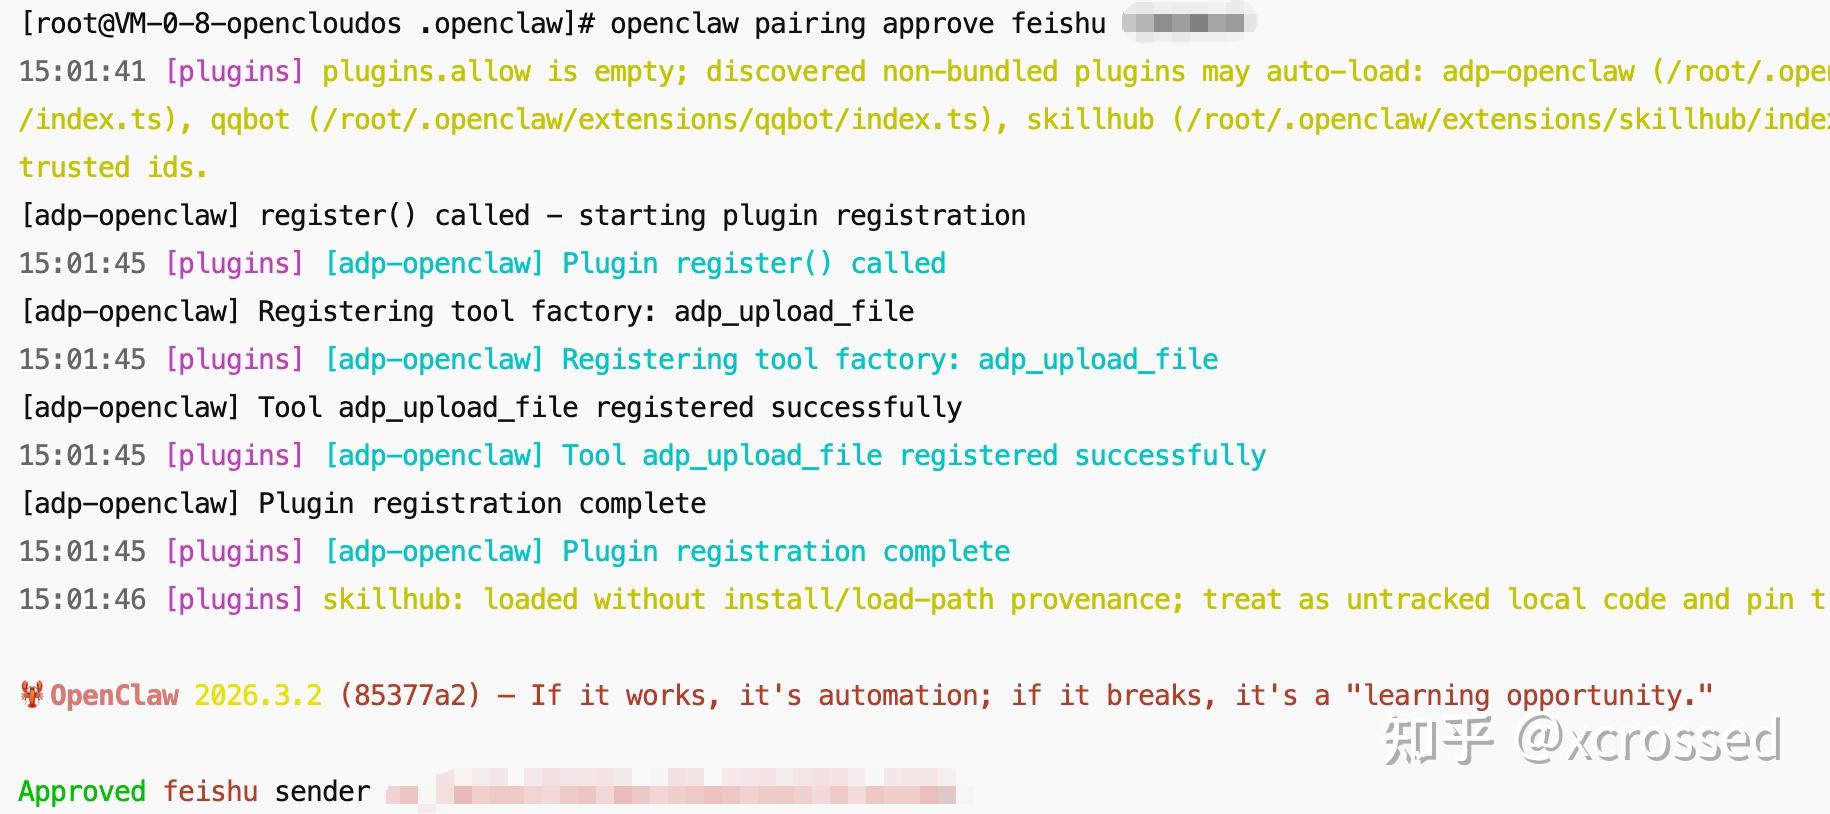
出现上图类似 Approved feishu sender ou_xxxx 就成功了
然后回到飞书,你就可以对话了。
整个配置过程就飞书侧操作多一点,但照着操作,绝对100%成功。
如果有问题,可以评论区反馈,大伙一起帮你解决。
记得 收藏,点赞,关注,本账号长期更新与openClaw相关的一切。
- 飞书插件github仓库
版权声明:本文内容由互联网用户自发贡献,该文观点仅代表作者本人。本站仅提供信息存储空间服务,不拥有所有权,不承担相关法律责任。如发现本站有涉嫌侵权/违法违规的内容,请联系我们,一经查实,本站将立刻删除。
如需转载请保留出处:https://51itzy.com/kjqy/227410.html