
最近在准备考驾照科目三,今天终于结束并且成功通过了考试,比较高兴,就把最近几天的高德地图定位记录了一下,防止以后再次需要此功能模块。
1.首先,去官网注册一个高德地图的帐号,http://lbs.amap.com/,然后获取高德key,具体步骤按照官网给出的流程来,很简单,只需要注意一下android studio的sha1值获取途径比较特殊,一般通过cmd命令来查看,教程官网也有,其他这里就不做说明了。
获取成功后在工程的android Manifest文件中添加key
- <meta-data
- android:name="com.amap.api.v2.apikey"
- android:value="your key"/>
<!--用于进行网络定位-->
<uses-permission android:name="android.permission.ACCESS_COARSE_LOCATION"></uses-permission>
<!--用于访问GPS定位-->
<uses-permission android:name="android.permission.ACCESS_FINE_LOCATION"></uses-permission>
<!--用于获取运营商信息,用于支持提供运营商信息相关的接口-->
<uses-permission android:name="android.permission.ACCESS_NETWORK_STATE"></uses-permission>
<!--用于访问wifi网络信息,wifi信息会用于进行网络定位-->
<uses-permission android:name="android.permission.ACCESS_WIFI_STATE"></uses-permission>
<!--用于获取wifi的获取权限,wifi信息会用来进行网络定位-->
<uses-permission android:name="android.permission.CHANGE_WIFI_STATE"></uses-permission>
<!--用于访问网络,网络定位需要上网-->
<uses-permission android:name="android.permission.INTERNET"></uses-permission>
<!--用于读取手机当前的状态-->
<uses-permission android:name="android.permission.READ_PHONE_STATE"></uses-permission>
<!--用于写入缓存数据到扩展存储卡-->
<uses-permission android:name="android.permission.WRITE_EXTERNAL_STORAGE"></uses-permission>
<!--用于申请调用A-GPS模块-->
<uses-permission android:name="android.permission.ACCESS_LOCATION_EXTRA_COMMANDS"></uses-permission>
<!--用于申请获取蓝牙信息进行室内定位-->
<uses-permission android:name="android.permission.BLUETOOTH"></uses-permission>
<uses-permission android:name="android.permission.BLUETOOTH_ADMIN"></uses-permission>
2.在Manifest的application标签中声明service组件,每个app拥有自己单独的定位service。
<service android:name="com.amap.api.location.APSService"></service>
3.获取到key之后,需要下载对应的sdk,并将下载的地图 SDK 的 jar包复制到工程
地图sdk下载地址:http://lbs.amap.com/api/android-sdk/down/
定位SDK下载地址:http://lbs.amap.com/api/android-location-sdk/download/ 注意一下,最好同时下载所需要的包,不要重复下载。
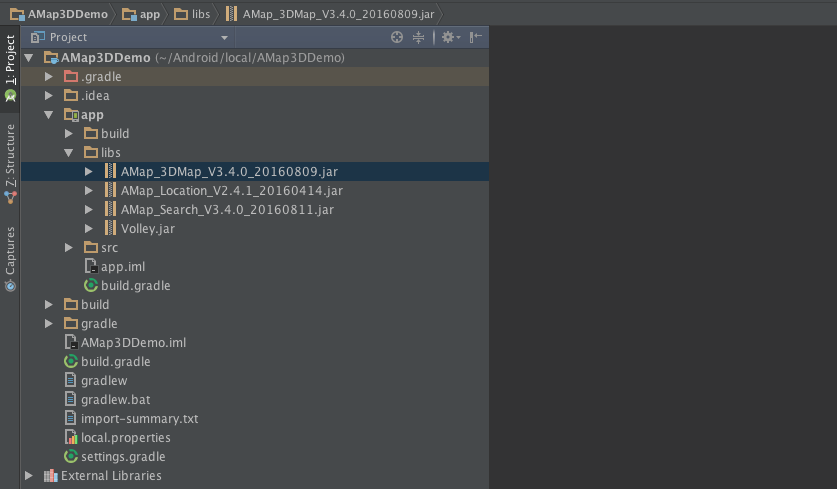
先导入jar包到libs目录下,并且右击鼠标选择add as library
再将so库复制到libs目录下,并在app/build.grade文件中加上如下代码来依赖该库
android{ sourceSets { main { jniLibs.srcDirs = ['libs'] } //… } }
讯享网 4.初始化地图
(1).布局文件
这里就直接复制了,主要由mapview组件和两个edittext(一个用来输入出发地,另一个是目的地)组成
讯享网<?xml version="1.0" encoding="utf-8"?> <LinearLayout xmlns:android="http://schemas.android.com/apk/res/android" android:layout_width="fill_parent" android:layout_height="fill_parent" android:background="#FFFFFF" android:orientation="vertical" > <LinearLayout android:id="@+id/linearLayout1" android:layout_width="fill_parent" android:layout_height="wrap_content" android:orientation="horizontal" android:gravity="center_vertical" > <ImageButton android:id="@+id/personal_center" android:layout_width="wrap_content" android:layout_height="wrap_content" android:padding="8dp" android:src="@mipmap/bsx" android:background="#FFFFFF"/> <TextView android:layout_width="wrap_content" android:layout_height="wrap_content" android:text="首页" android:textSize="26dp" android:layout_weight="1" android:gravity="center"/> <ImageButton android:id="@+id/message_center" android:layout_width="wrap_content" android:layout_height="wrap_content" android:padding="8dp" android:src="@mipmap/cis" android:background="#FFFFFF"/> </LinearLayout> <com.amap.api.maps.MapView android:id="@+id/map" android:layout_width="match_parent" android:layout_height="wrap_content" android:layout_weight="1"> </com.amap.api.maps.MapView> <LinearLayout android:layout_width="match_parent" android:layout_height="wrap_content" android:orientation="horizontal" android:layout_marginTop="8dp"> <TextView android:layout_width="wrap_content" android:layout_height="wrap_content" android:text="出发地:" android:textSize="18dp" android:layout_marginLeft="16dp" android:layout_marginRight="8dp"/> <EditText android:id="@+id/et_left_place" android:layout_width="200dp" android:layout_height="wrap_content" android:background="@drawable/et_background" android:textSize="18dp" /> </LinearLayout> <LinearLayout android:layout_width="match_parent" android:layout_height="wrap_content" android:orientation="horizontal" android:paddingBottom="16dp" android:layout_marginTop="16dp"> <TextView android:layout_width="wrap_content" android:layout_height="wrap_content" android:text="目的地:" android:textSize="18dp" android:layout_marginLeft="16dp" android:layout_marginRight="8dp"/> <EditText android:id="@+id/et_arrive_place" android:layout_width="200dp" android:layout_height="wrap_content" android:background="@drawable/et_background" android:textSize="18dp" /> </LinearLayout> </LinearLayout>(2).通过mapview初始化地图
public class MainActivity extends Activity {

MapView mMapView = null;
protected void onCreate(Bundle savedInstanceState) {
super.onCreate(savedInstanceState);
setContentView(R.layout.activity_main);
//获取地图控件引用
mMapView = (MapView) findViewById(R.id.map);
//在activity执行onCreate时执行
mMapView.onCreate(savedInstanceState),创建地图
mMapView.onCreate(savedInstanceState);
}
protected void onDestroy() {
super.onDestroy(); //在activity执行onDestroy时执行mMapView.onDestroy(),销毁地图
mMapView.onDestroy();
}
protected void onResume() {
super.onResume(); //在activity执行onResume时执行mMapView.onResume (),重新绘制加载地图
mMapView.onResume();
}
protected void onPause() {
super.onPause(); //在activity执行onPause时执行mMapView.onPause (),暂停地图的绘制
mMapView.onPause();
}
protected void onSaveInstanceState(Bundle outState) {
super.onSaveInstanceState(outState); //在activity执行onSaveInstanceState时执行mMapView.onSaveInstanceState (outState),保存地图当前的状态
mMapView.onSaveInstanceState(outState);
}
}
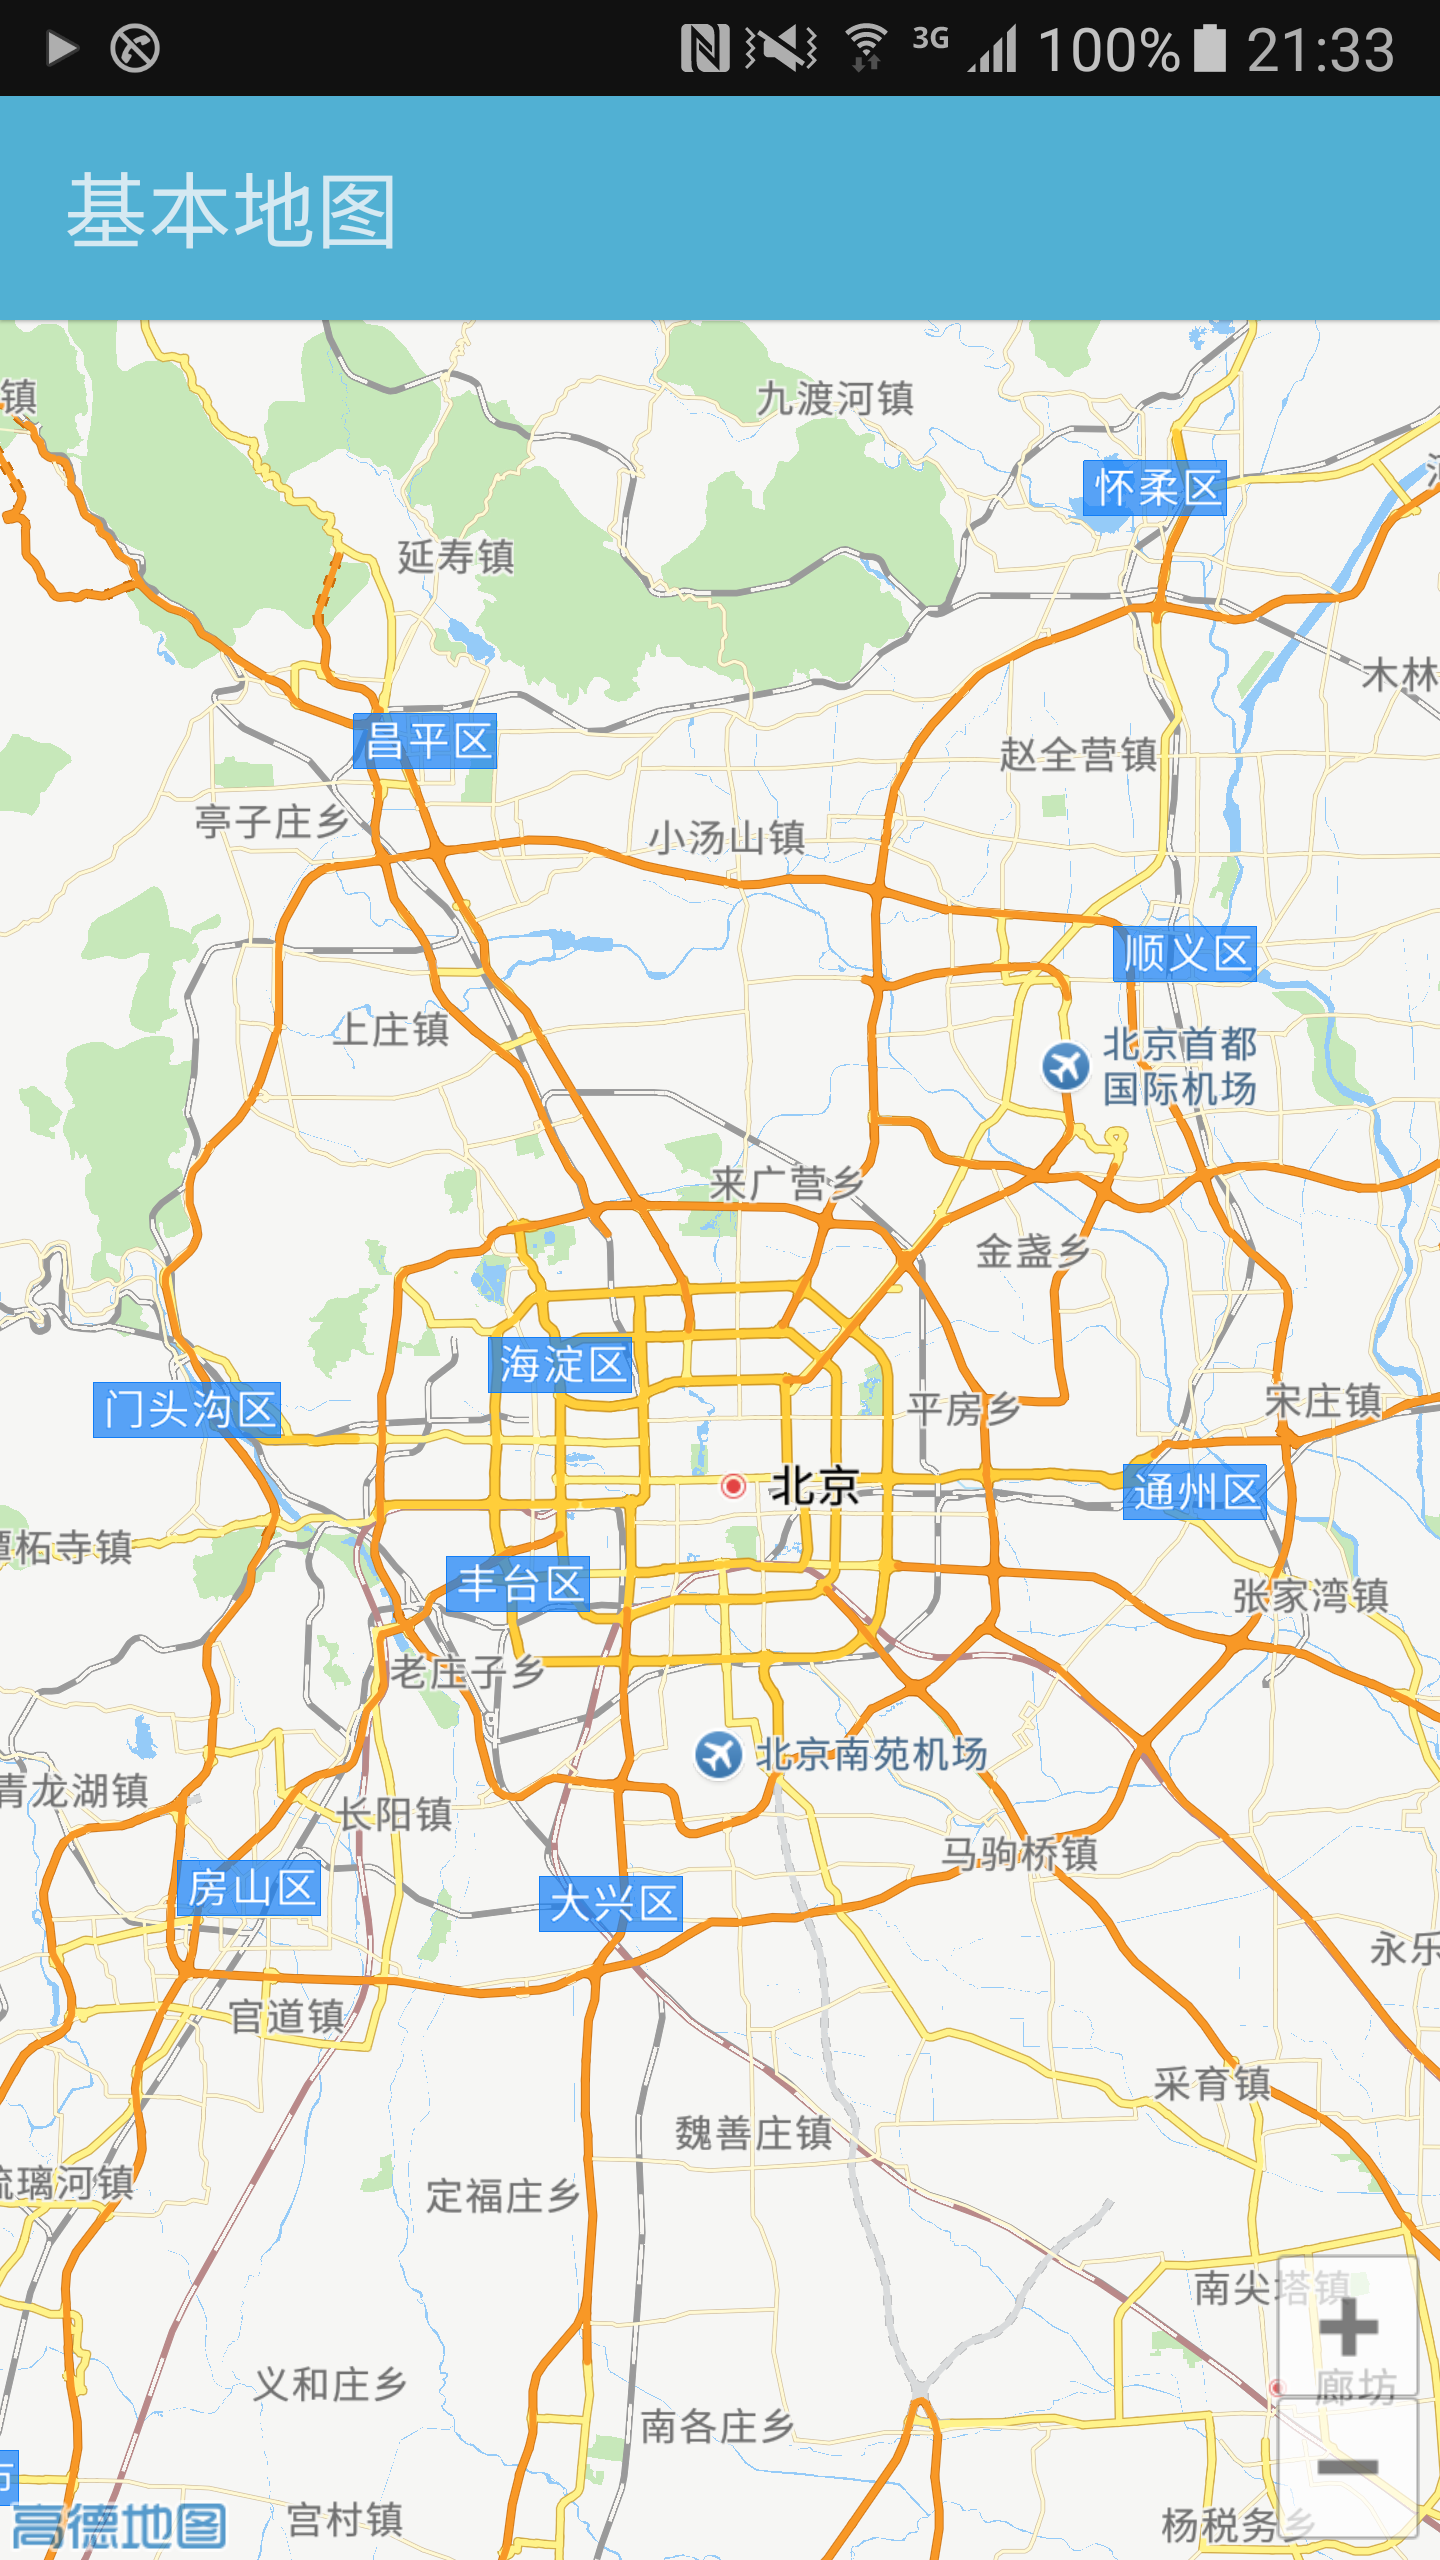
5.初始化地图做好了,那么接下来就是定位功能的实现以及通过小图标显示当前所在位置
首先,声明
public AMapLocationClient mLocationClient = null;//声明AMapLocationClient类对象 public AMapLocationClientOption mLocationOption = null;//声明AMapLocationClientOption对象用来设置发起定位的模式和相关参数然后声明一下定位回调监听器AmapLocationListener
讯享网/ * 声明定位回调监听器 */ public AMapLocationListener mLocationListener = new AMapLocationListener() { @Override public void onLocationChanged(AMapLocation amapLocation) { if (amapLocation != null) { if (amapLocation.getErrorCode() == 0) { //定位成功回调信息,设置相关消息 amapLocation.getLocationType();//获取当前定位结果来源,如网络定位结果,详见定位类型表 amapLocation.getLatitude();//获取纬度 amapLocation.getLongitude();//获取经度 amapLocation.getAccuracy();//获取精度信息 SimpleDateFormat df = new SimpleDateFormat("yyyy-MM-dd HH:mm:ss"); Date date = new Date(amapLocation.getTime()); df.format(date);//获取定位时间 amapLocation.getAddress();//地址,如果option中设置isNeedAddress为false,则没有此结果,网络定位结果中会有地址信息,GPS定位不返回地址信息。 amapLocation.getCountry();//国家信息 amapLocation.getProvince();//省信息 amapLocation.getCity();//城市信息 amapLocation.getDistrict();//城区信息 amapLocation.getStreet();//街道信息 amapLocation.getStreetNum();//街道门牌号信息 amapLocation.getCityCode();//城市编码 amapLocation.getAdCode();//地区编码 amapLocation.getAoiName();//获取当前定位点的AOI信息 lat = amapLocation.getLatitude();//获取经纬度 lon = amapLocation.getLongitude(); Log.v("pcw", "lat : " + lat + " lon : " + lon); Log.v("pcw", "Country : " + amapLocation.getCountry() + " province : " + amapLocation.getProvince() + " City : " + amapLocation.getCity() + " District : " + amapLocation.getDistrict()); // 设置当前地图显示为当前位置 aMap.moveCamera(CameraUpdateFactory.newLatLngZoom(new LatLng(lat, lon), 19)); MarkerOptions markerOptions = new MarkerOptions(); markerOptions.position(new LatLng(lat, lon)); markerOptions.title("当前位置"); markerOptions.visible(true); BitmapDescriptor bitmapDescriptor = BitmapDescriptorFactory.fromBitmap(BitmapFactory.decodeResource(getResources(), R.mipmap.locate)); markerOptions.icon(bitmapDescriptor); aMap.addMarker(markerOptions); } else { //显示错误信息ErrCode是错误码,errInfo是错误信息,详见错误码表。 Log.e("AmapError", "location Error, ErrCode:" + amapLocation.getErrorCode() + ", errInfo:" + amapLocation.getErrorInfo()); } } } };接着,配置定位相关参数,并在周期中同步
private void setUpMap() { //初始化定位参数 mLocationOption = new AMapLocationClientOption(); //设置定位模式为高精度模式,Battery_Saving为低功耗模式,Device_Sensors是仅设备模式 mLocationOption.setLocationMode(AMapLocationClientOption.AMapLocationMode.Hight_Accuracy); //设置是否返回地址信息(默认返回地址信息) mLocationOption.setNeedAddress(true); //设置是否只定位一次,默认为false mLocationOption.setOnceLocation(false); //设置是否强制刷新WIFI,默认为强制刷新 mLocationOption.setWifiActiveScan(true); //设置是否允许模拟位置,默认为false,不允许模拟位置 mLocationOption.setMockEnable(false); //设置定位间隔,单位毫秒,默认为2000ms mLocationOption.setInterval(2000); //给定位客户端对象设置定位参数 mLocationClient.setLocationOption(mLocationOption); //启动定位 mLocationClient.startLocation(); } @Override protected void onDestroy() { super.onDestroy(); //在activity执行onDestroy时执行mMapView.onDestroy(),销毁地图 mapView.onDestroy(); mLocationClient.onDestroy();//销毁定位客户端 } @Override protected void onResume() { super.onResume(); //在activity执行onResume时执行mMapView.onResume (),重新绘制加载地图 mapView.onResume(); } @Override protected void onPause() { super.onPause(); //在activity执行onPause时执行mMapView.onPause (),暂停地图的绘制 mapView.onPause(); } @Override protected void onStop() { super.onStop(); mLocationClient.stopLocation();//停止定位 //停止定位后,本地定位服务并不会被销毁 } @Override protected void onSaveInstanceState(Bundle outState) { super.onSaveInstanceState(outState); //在activity执行onSaveInstanceState时执行mMapView.onSaveInstanceState (outState),保存地图当前的状态 mapView.onSaveInstanceState(outState); }初始化整个地图
讯享网private void initMap() { if (aMap == null) { aMap = mapView.getMap(); } setUpMap(); }创建地图实例并为其设置定位回调监听以及初始化
@Override protected void onCreate(Bundle savedInstanceState) { super.onCreate(savedInstanceState); requestWindowFeature(Window.FEATURE_NO_TITLE); setContentView(R.layout.scrollerview_menu); //解决标题栏隐藏无效的问题 if (getSupportActionBar() != null){ getSupportActionBar().hide(); } //获取地图控件 mapView= (MapView) findViewById(R.id.map); //在activity执行onCreate时执行mMapView.onCreate(savedInstanceState),创建地图 mapView.onCreate(savedInstanceState);// 此方法必须重写 //初始化定位 mLocationClient = new AMapLocationClient(getApplicationContext()); //设置定位回调监听 mLocationClient.setLocationListener(mLocationListener); initMap();//初始化地图 ib_personal_page= (ImageButton) findViewById(R.id.personal_center); ib_message_page= (ImageButton) findViewById(R.id.message_center); ib_personal_page.setOnClickListener(MainMenuActivity.this); ib_message_page.setOnClickListener(MainMenuActivity.this); }写的过程中,遇到一些问题在所难免,比如地图显示空白或者网格,grade文件相关报错,这些可以通过log日志查看具体错误内容并在官网常见问题栏或社区寻求答案,虽然有些问题困扰很久才得到解决,但收获的喜悦却是无以言表的。
大家有什么建议和意见可以提出来,本人新手刚学没多久,请大家多多指教
版权声明:本文内容由互联网用户自发贡献,该文观点仅代表作者本人。本站仅提供信息存储空间服务,不拥有所有权,不承担相关法律责任。如发现本站有涉嫌侵权/违法违规的内容,请联系我们,一经查实,本站将立刻删除。
如需转载请保留出处:https://51itzy.com/kjqy/64551.html