
github代码链接
https://github.com/lifeiteng/vall-e/tree/main 1.PyTorch
pytorch官网
讯享网https://pytorch.org/
指令
conda install pytorch torchvision torchaudio pytorch-cuda=11.8 -c pytorch -c nvidia 讯享网pip install torchmetrics==0.11.1
2.fbank
pip install librosa==0.8.1 3.phonemizer pypinyin
apt-get install espeak-ng 4.OSX: brew install espeak
pip install phonemizer==3.2.1 pypinyin==0.48.0 5.lhotse
(备用)
#lhotse update to newest version
#https://github.com/lhotse-speech/lhotse/pull/956
#https://github.com/lhotse-speech/lhotse/pull/960
#pip uninstall lhotse
#pip uninstall lhotse
pip install git+https://github.com/lhotse-speech/lhotse 6.k2
#find the right version in https://huggingface.co/csukuangfj/k2
pip install https://huggingface.co/csukuangfj/k2/resolve/main/cuda/k2-1.23.4.dev+cuda11.6.torch1.13.1-cp310-cp310-linux_x86_64.whl 7.icefall
git clone https://github.com/k2-fsa/icefall cd icefall pip install -r requirements.txt export PYTHONPATH=`pwd`/../icefall:$PYTHONPATH echo "export PYTHONPATH=`pwd`/../icefall:\$PYTHONPATH" >> ~/.zshrc echo "export PYTHONPATH=`pwd`/../icefall:\$PYTHONPATH" >> ~/.bashrc cd - source ~/.zshrc 8.valle
git clone https://github.com/lifeiteng/valle.git cd valle pip install -e . 9.training&inference
进入文件目录下
cd examples/libritts 9.1 prepare dataset
编译
bash prepare.sh --stage -1 --stop-stage 3 1.这步可能遇到的问题,没有遇到忽略。
libffi.so.7 cannot open shared object file
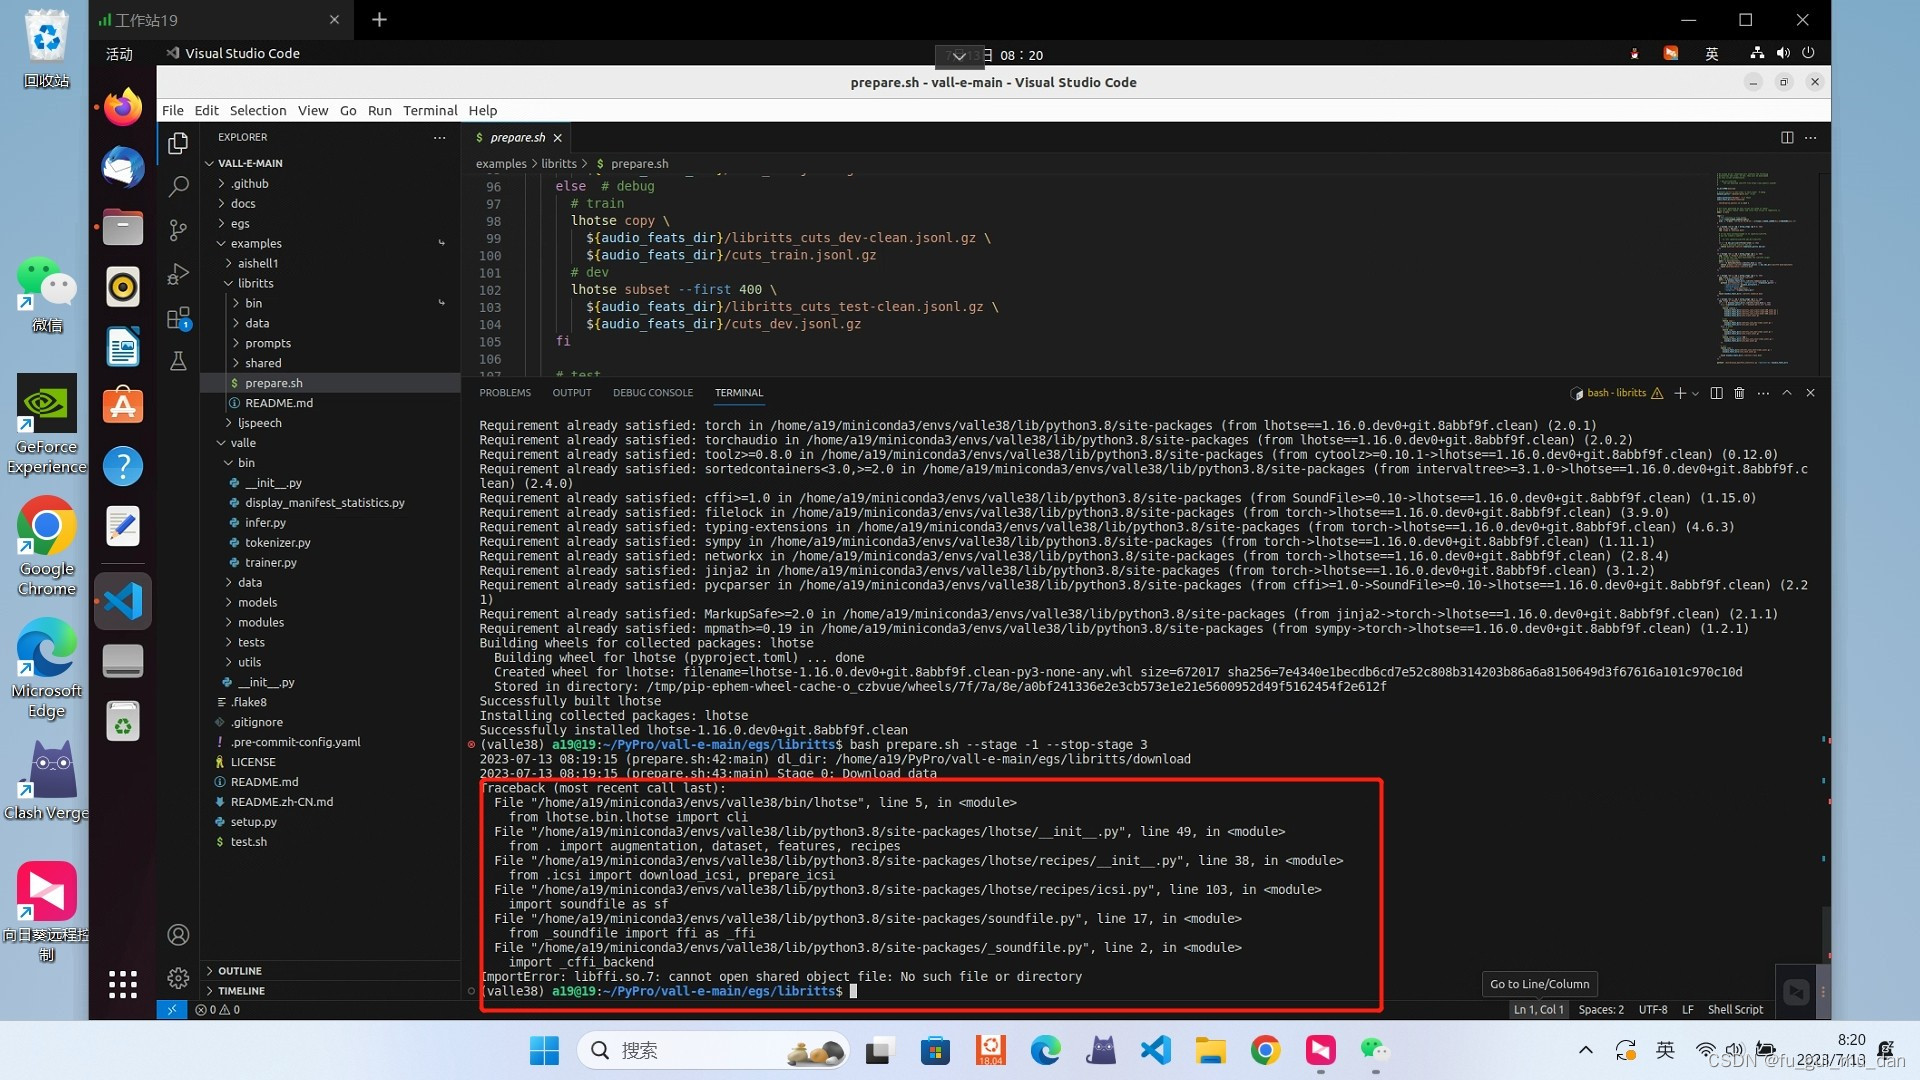 解决方法
解决方法
进入到虚拟环境下的lib文件夹下,根据你的虚拟环境名

cd ~/miniconda3/envs/valle38/lib 将所缺失文件设置成一个软连接,连接到该目录下同一性质文件,这里报错是缺失libffi.so.7文件,但是该目录下存在libffi.so.6文件,故将其软连接于libffi.so.6文件上,问题得到解决。
ln -s libffi.so.6 libffi.so.7 2.这步可能遇到的问题2,没有可忽略
urllib.error:HTTPError:…403
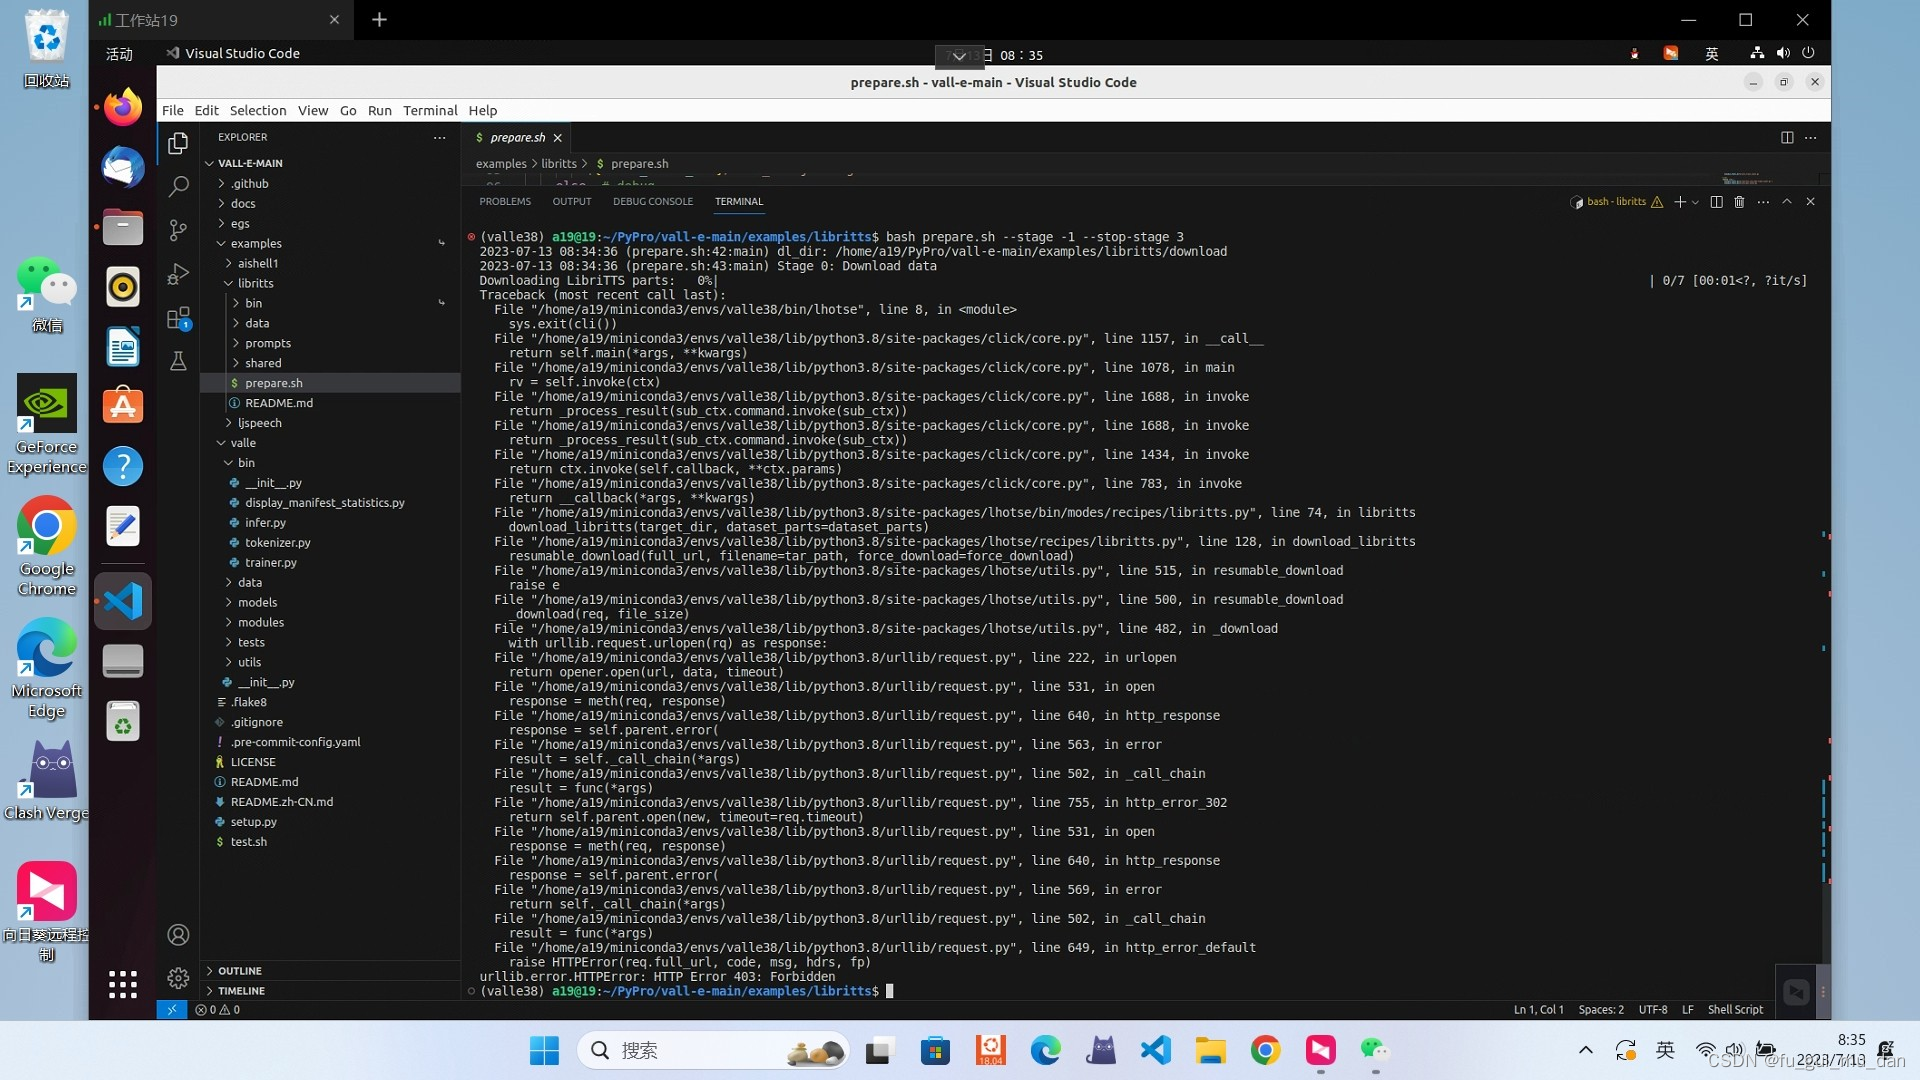 解决方法
解决方法
下载数据集
https://www.openslr.org/60/ 解压,放到egs/libritts/download/LibriTTS/目录下
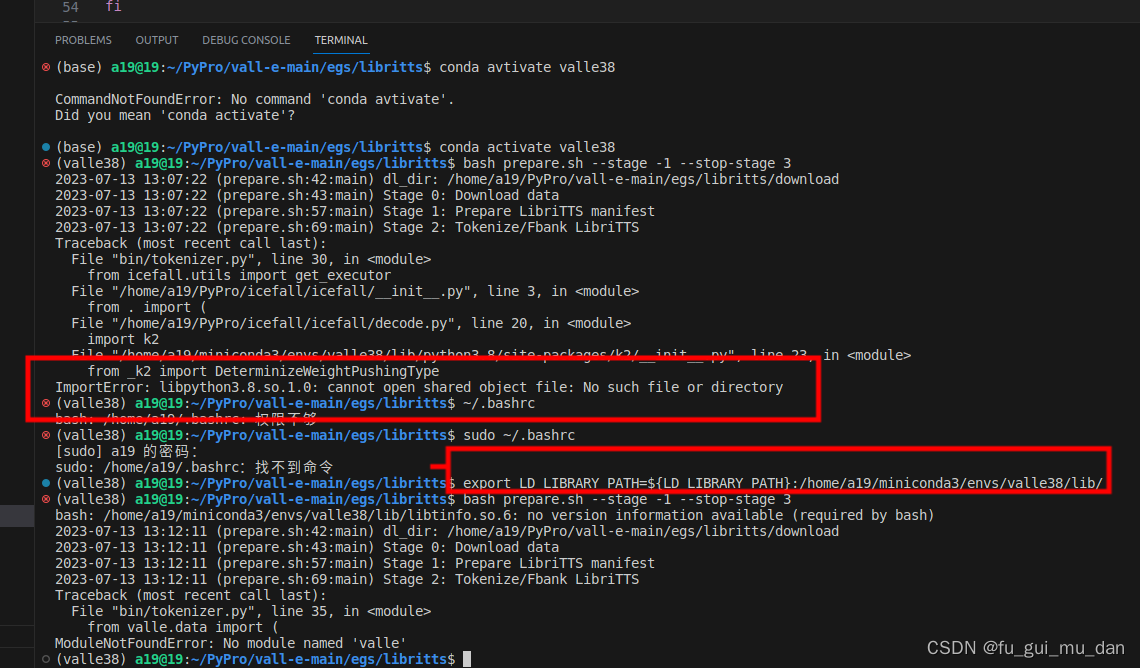
3.可能遇到的问题3
ImportError: libpython3.8.so.1.0: cannot open shared object file: No such file or directory
解决方法
export LD_LIBRARY_PATH=${
   LD_LIBRARY_PATH}:/home/a19/miniconda3/envs/valle38/lib/
成功
9.2 exp_dir赋值
exp_dir=exp/valle 9.3 Train AR model
指令
python3 bin/trainer.py --max-duration 80 --filter-min-duration 0.5 --filter-max-duration 14 --train-stage 1 \ --num-buckets 6 --dtype "bfloat16" --save-every-n 10000 --valid-interval 20000 \ --model-name valle --share-embedding true --norm-first true --add-prenet false \ --decoder-dim 1024 --nhead 16 --num-decoder-layers 12 --prefix-mode 1 \ --base-lr 0.05 --warmup-steps 200 --average-period 0 \ --num-epochs 20 --start-epoch 1 --start-batch 0 --accumulate-grad-steps 4 \ --exp-dir ${
   exp_dir}
9.4 Train NAR model
指令
cp ${
   exp_dir}/best-valid-loss.pt ${
   exp_dir}/epoch-2.pt # --start-epoch 3=2+1
python3 bin/trainer.py --max-duration 40 --filter-min-duration 0.5 --filter-max-duration 14 --train-stage 2 \ --num-buckets 6 --dtype "float32" --save-every-n 10000 --valid-interval 20000 \ --model-name valle --share-embedding true --norm-first true --add-prenet false \ --decoder-dim 1024 --nhead 16 --num-decoder-layers 12 --prefix-mode 1 \ --base-lr 0.05 --warmup-steps 200 --average-period 0 \ --num-epochs 40 --start-epoch 3 --start-batch 0 --accumulate-grad-steps 4 \ --exp-dir ${
exp_dir} 9.5 step3 inference
需要best-valid-loss.pt
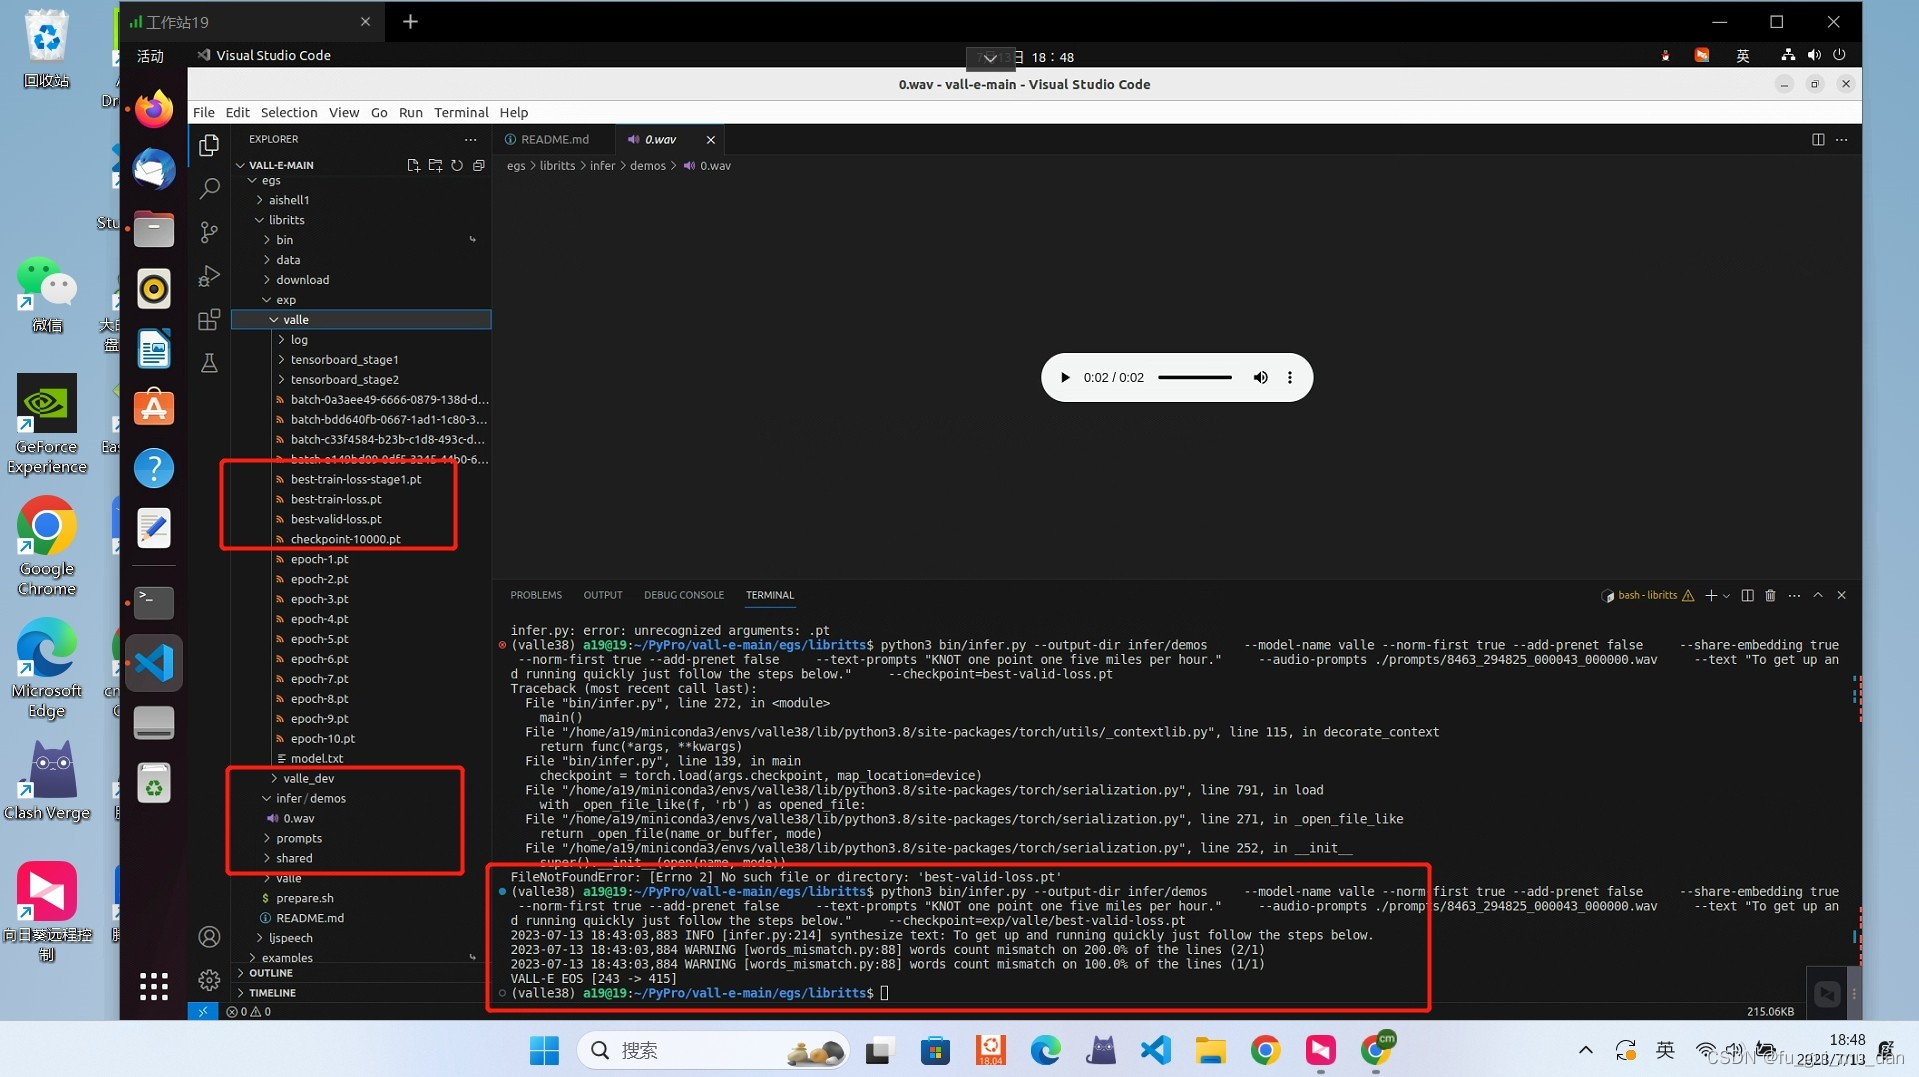
指令
python3 bin/infer.py --output-dir infer/demos \ --model-name valle --norm-first true --add-prenet false \ --share-embedding true --norm-first true --add-prenet false \ --text-prompts "KNOT one point one five miles per hour." \ --audio-prompts ./prompts/8463__000043_000000.wav \ --text "To get up and running quickly just follow the steps below." \ --checkpoint=${
   exp_dir}/best-valid-loss.pt
版权声明:本文内容由互联网用户自发贡献,该文观点仅代表作者本人。本站仅提供信息存储空间服务,不拥有所有权,不承担相关法律责任。如发现本站有涉嫌侵权/违法违规的内容,请联系我们,一经查实,本站将立刻删除。
如需转载请保留出处:https://51itzy.com/kjqy/59613.html