
一、EurekaServer—服务注册中心
二、实战
1. 使用IDEA的Spring Assistan创建工程,选择Default,单击next

2.填写项目信息,命名工程名称为eureka_server,单击next

3.选择SpringCloudDisicovery中的Eureka Server,单击next,然后finish完成。

4.创建完后的工程的pom.xml文件自带依赖spring-cloud-starter-netflix-eureka-server 和spring-boot-starter-test如下:
<dependencies> <dependency> <groupId>org.springframework.cloud</groupId> <artifactId>spring-cloud-starter-netflix-eureka-server</artifactId> </dependency> <dependency> <groupId>org.springframework.boot</groupId> <artifactId>spring-boot-starter-test</artifactId> <scope>test</scope> <exclusions> <exclusion> <groupId>org.junit.vintage</groupId> <artifactId>junit-vintage-engine</artifactId> </exclusion> </exclusions> </dependency> </dependencies>讯享网
5.给EurekaServerApplication主程序添加@EnableEurekaServer注解
讯享网@EnableEurekaServer @SpringBootApplication public class EurekaServerApplication { public static void main(String[] args) { SpringApplication.run(EurekaServerApplication.class, args); } }
6.在resources文件夹下创建application.yml文件,内容如下。并删除掉application.properties。
server: port: 8761 eureka: instance: hostname: localhost client: registerWithEureka: false fetchRegistry: false serviceUrl: defaultZone: http://${eureka.instance.hostname}:${server.port}/eureka/7.最终项目目录结构如下

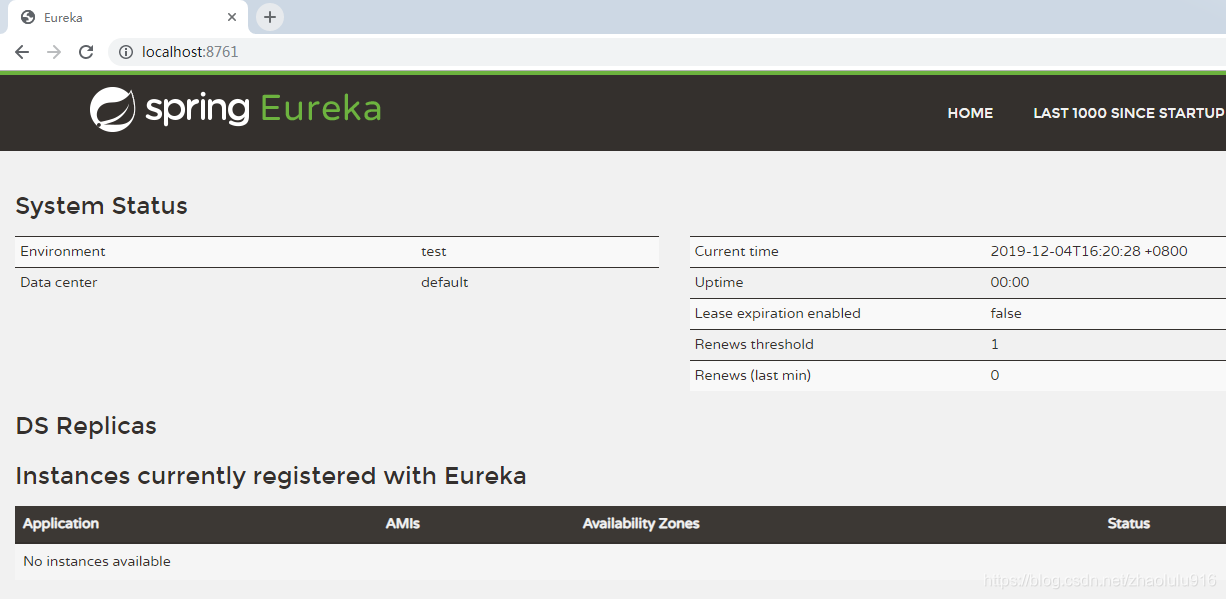
8.启动项目,打开浏览器访问:http://localhost:8761 ,界面如下:
版权声明:本文内容由互联网用户自发贡献,该文观点仅代表作者本人。本站仅提供信息存储空间服务,不拥有所有权,不承担相关法律责任。如发现本站有涉嫌侵权/违法违规的内容,请联系我们,一经查实,本站将立刻删除。
如需转载请保留出处:https://51itzy.com/kjqy/51868.html