
一、搭建一个SpringBoot框架
没有搭建的小伙伴,先去搭建一个
SpringBoot框架快速入门搭建Hello World![]()
讯享网https://blog.csdn.net/KangYouWei6/article/details/?spm=1001.2014.3001.5502
因为这个功能是Spring自带的功能,所以我们不需要额外的引入其他文件,只需要做简单的配置与应用即可。
二、在application.yaml写上配置
写上限制上传文件大小的配置
spring: #上传文件使用 servlet: multipart: #单个文件最大上传大小 max-file-size: 100MB #每次请求上传文件大小最大值 max-request-size: 100MB 讯享网
写上我们自定义配置
下面的路径是我们自己定义的,可以进行修改
uploadFile:是上传路径,也就是用户上传的文件保存在这个路劲下。
downloadFile:是下载路径,也就是你把文件放在这个文件夹下,用户只要上传一个文件名称,就能从这里拿到文件。
讯享网#自定义参数,自己 通过将 @Value("${define.nginx.uploadPath}") 写到变量上面,就能获取值 define: nginx: #文件上传路径:用户上传的文件 存储到这里 uploadPath: D:\uploadFile\ #文件下载路径:用户从这里 下载文件 downloadPath: D:\downloadFile\
三、上传和下载功能代码
业务层接口
com/kyw/service/FileService.java
package com.kyw.service; import org.springframework.ui.Model; import javax.servlet.http.HttpServletResponse; public interface FileService { / *文件上传 */ void saveFile(byte[] file, String filePath, String fileName) throws Exception; / *文件下载 */ void download(HttpServletResponse response, String filename, Model model); } 业务层实现
com/kyw/service/impl/FileServiceImpl.java
讯享网package com.kyw.service.impl; import com.kyw.service.FileService; import org.springframework.beans.factory.annotation.Value; import org.springframework.stereotype.Service; import org.springframework.ui.Model; import javax.servlet.http.HttpServletResponse; import java.io.*; import java.net.URLEncoder; @Service public class FileServiceImpl implements FileService { private static final String UTF_8 = "UTF-8"; / * 通过@value注解 * 把配置文件application.yaml中的值(define.nginx.path)拿过来 * 给downloadPath赋值 */ @Value("${define.nginx.downloadPath}") private String downloadPath; / * 文件上传:用户 将自己电脑上的的文件 上传到 服务器filePath路径下 * @param file :文件 * @param filePath:文件上传地址 * @param fileName:文件名称 */ @Override public void saveFile(byte[] file, String filePath, String fileName) throws Exception { File targetFile = new File(filePath); if (!targetFile.exists()) { targetFile.mkdirs(); } FileOutputStream out = new FileOutputStream(filePath + fileName); out.write(file); out.flush(); out.close(); } / * 文件下载:用户 把服务器上的文件 下载 到自己的电脑上 * @param filename:文件名称 * @param model */ @Override public void download(HttpServletResponse response, String filename, Model model) { response.setContentType("application/force-download"); response.setCharacterEncoding(UTF_8); // 设置下载后的文件名以及header response.addHeader("Content-disposition", "attachment;fileName=" + URLEncoder.encode(filename)); byte[] buff = new byte[1024]; //创建缓冲输入流 BufferedInputStream bis = null; OutputStream outputStream = null; try { outputStream = response.getOutputStream(); //这个路径为待下载文件的路径 bis = new BufferedInputStream(new FileInputStream(new File(downloadPath + filename ))); int read = bis.read(buff); //通过while循环写入到指定了的文件夹中 while (read != -1) { outputStream.write(buff, 0, buff.length); outputStream.flush(); read = bis.read(buff); } } catch ( IOException e ) { e.printStackTrace(); //出现异常返回给页面失败的信息 System.out.println("--------------------------------"); model.addAttribute("result","下载失败"); } finally { if (bis != null) { try { bis.close(); } catch (IOException e) { e.printStackTrace(); } } if (outputStream != null) { try { outputStream.close(); } catch (IOException e) { e.printStackTrace(); } } } } }
控制层
com/kyw/controller/UploadController.java
package com.kyw.controller;
import com.kyw.service.FileService;
import org.springframework.beans.factory.annotation.Autowired;
import org.springframework.beans.factory.annotation.Value;
import org.springframework.stereotype.Controller;
import org.springframework.ui.Model;
import org.springframework.web.bind.annotation.*;
import org.springframework.web.multipart.MultipartFile;
import javax.servlet.http.HttpServletResponse;
/
* 文件上传下载
*/
@Controller
@RequestMapping("/upload")
public class UploadController {
private static final String NULL_FILE = "";
@Value("${define.nginx.uploadPath}")
private String uploadPath;
@Autowired
private FileService fileService;
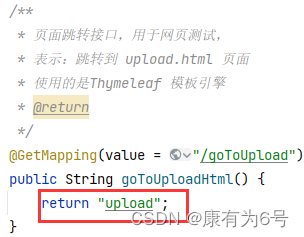
/
* 页面跳转接口,用于网页测试,
* 表示:跳转到 upload.html 页面
* 使用的是Thymeleaf 模板引擎
* @return
*/
@GetMapping(value = "/goToUpload")
public String goToUploadHtml() {
return "upload";
}
/
* 单文件上传
* @param file
* @return
*/
@PostMapping("/uploadFile")
@ResponseBody
public String singleFileUpload(@RequestParam("file") MultipartFile file) {
try {
if (file == null || NULL_FILE.equals(file.getOriginalFilename())) {
return "upload failure";
}
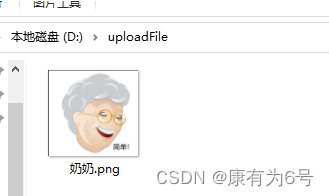
fileService.saveFile(file.getBytes(), uploadPath, file.getOriginalFilename());
} catch (Exception e) {
return "upload failure";
}
return "upload success";
}
/
* 批量文件上传
* @param files
* @return
*/
@PostMapping("/uploadFiles")
@ResponseBody
public String multiFileUpload(@RequestParam("file") MultipartFile[] files) {
try {
for (int i = 0; i < files.length; i++) {
//check file
if (NULL_FILE.equals(files[i].getOriginalFilename())) {
continue;
}
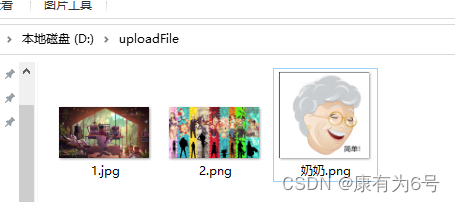
fileService.saveFile(files[i].getBytes(), uploadPath, files[i].getOriginalFilename());
}
} catch (Exception e) {
return "upload failure";
}
return "upload success";
}
/
* 文件下载
* @param response
* @param fileName
* @param model
*/
@PostMapping("/download")
public void testDownload(HttpServletResponse response, String fileName , Model model) {
fileService.download(response,fileName,model);
//成功后返回成功信息
model.addAttribute("result","下载成功");
}
}
四、启动项目并测试
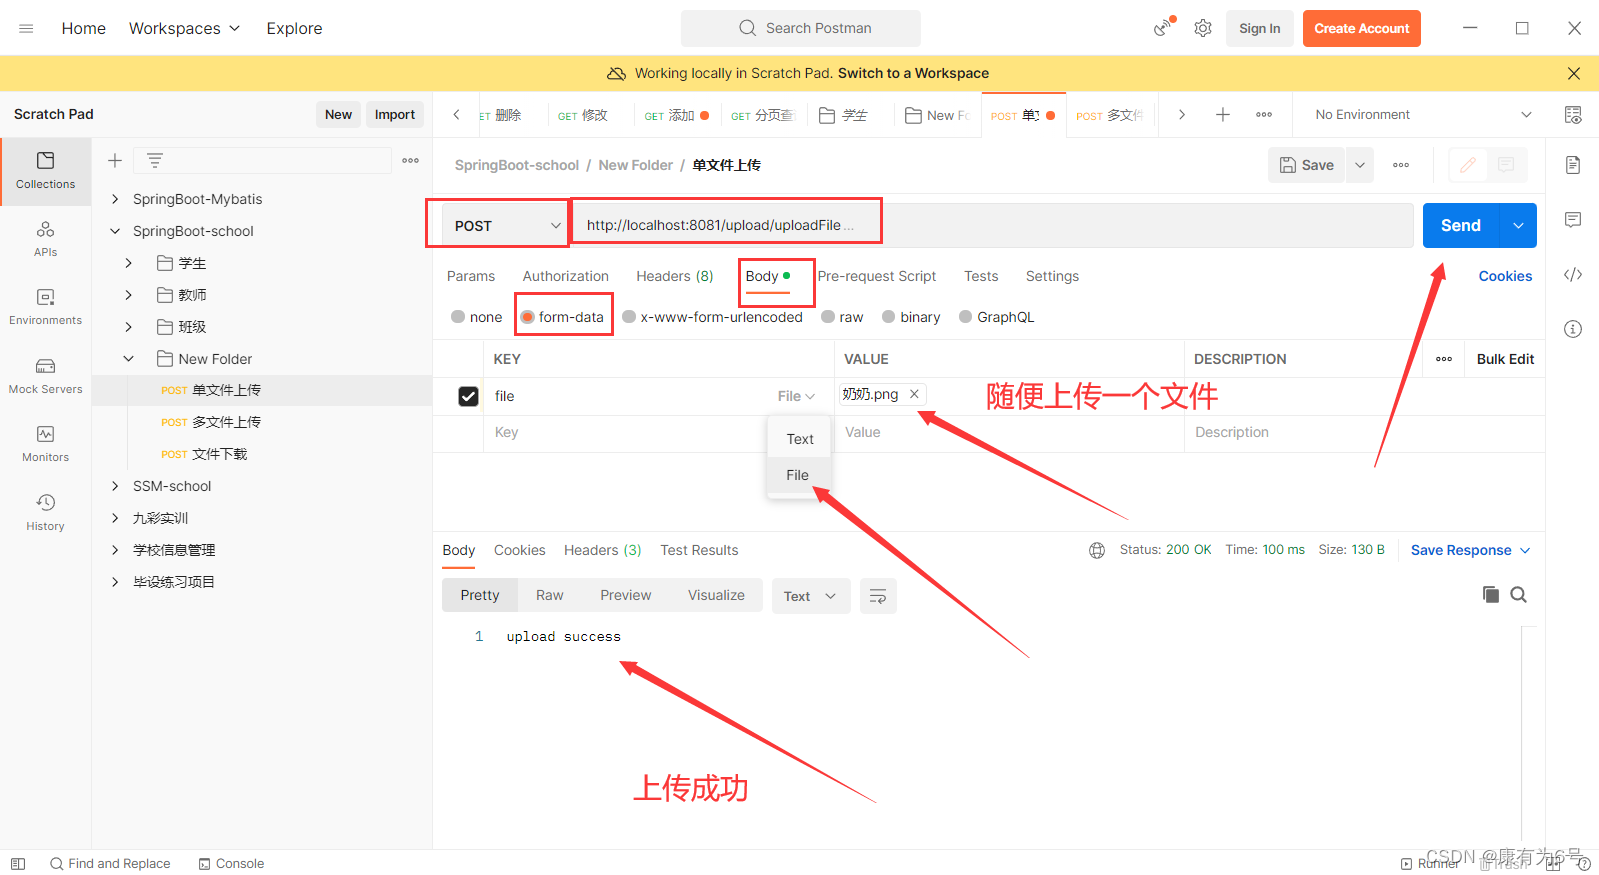
第一种测试方法:用Postman软件
单文件上传
http://localhost:8081/upload/uploadFile
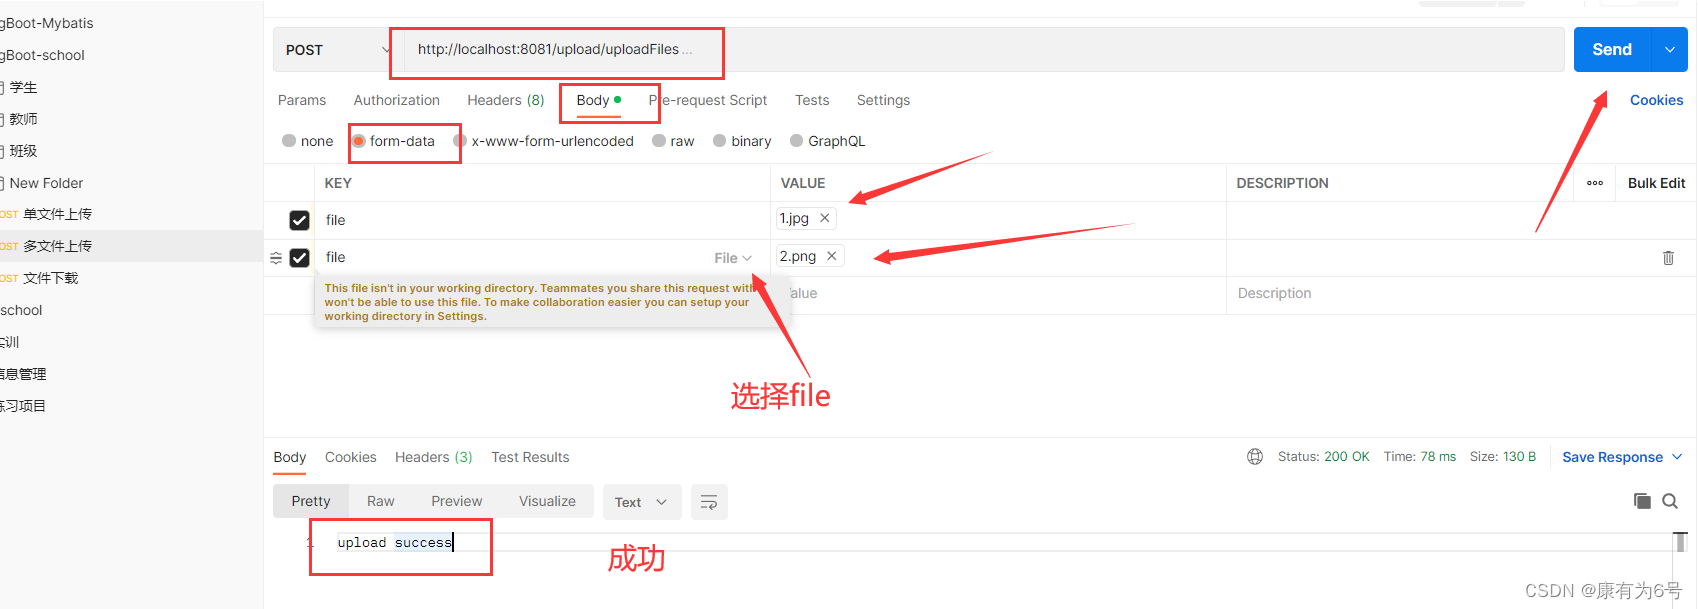
多文件上传
文件下载
先创建好downFile文件夹,要对应自己配置文件的配置,在里面放点文件,供用户下载

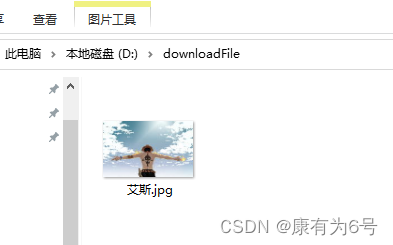
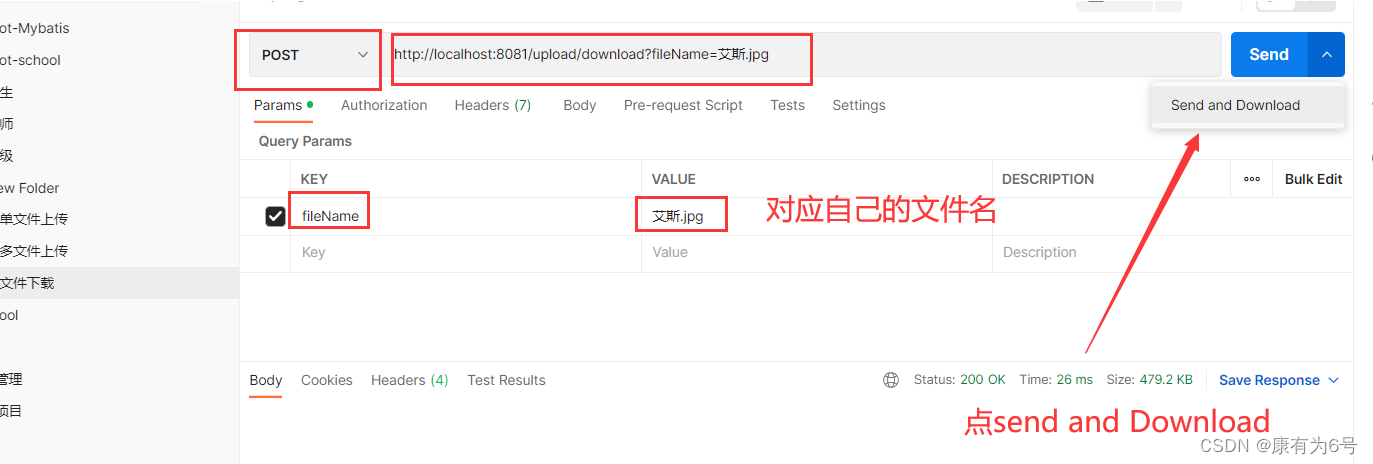
弹出来的窗口,选好保存路径,写好文件名称
这里很麻烦的是:需要自己写文件名,第二种方法就不需要。

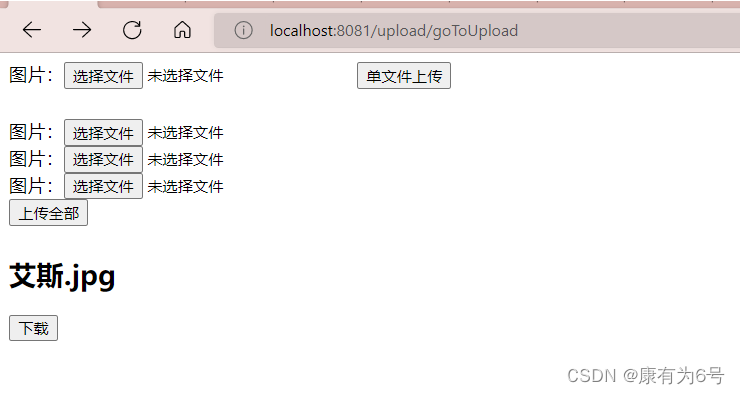
第二种测试方法:html网页
为了前后端交互,先
整合下Thymeleaf
引入依赖
讯享网<!--模板引擎Thymleaf 整合-->
<dependency>
    <groupId>org.springframework.boot</groupId>
    <artifactId>spring-boot-starter-thymeleaf</artifactId>
</dependency>
<dependency>
    <groupId>net.sourceforge.nekohtml</groupId>
    <artifactId>nekohtml</artifactId>
    <version>1.9.22</version>
</dependency>
对它进行配置
src/main/resources/application.yaml
spring:
  thymeleaf:
    cache: false # 关闭页面缓存
    encoding: UTF-8 # 模板编码
    prefix: classpath:/templates/  # 页面映射路径
    suffix: .html # 试图后的后缀
    mode: HTML5 # 模板模式
创建html文件
注意
必须在下面路径。(因为Thymeleaf模板引擎的html文件都要放到templates里面)
文件名称也不要变。(因为controller层的代码匹配)
src/main/resources/templates/upload.html
注意修改下载文件的名称和路径
讯享网<!DOCTYPE html>
<html lang="en">
<head>
  <meta charset="UTF-8">
  <title>SpringBoot上传文件</title>
</head>
<body>
<!--单文件上传-->
<div style=" height:50px">
  <form enctype="multipart/form-data" method="post" action="http://localhost:8081/upload/uploadFile">
    图片:<input type="file" name="file"/>
    <input type="submit" value="单文件上传"/>
  </form>
</div>

<!--批量文件上传-->
<div style=" height:100px">
  <form enctype="multipart/form-data" method="post" action="http://localhost:8081/upload/uploadFiles">
    图片:<input type="file" name="file"/><br>
    图片:<input type="file" name="file"/><br>
    图片:<input type="file" name="file"/><br>
    <input type="submit" value="上传全部"/>
  </form>
</div>

<!--文件下载-->

<div style=" height:100px">
  <form  action="http://localhost:8081/upload/download?fileName=艾斯.jpg" method="post">
    <p><h2>艾斯.jpg</h2></p>
    <p><input type="submit" value="下载"/></p>
  </form>
</div>

</body>
</html>
访问下面链接
http://localhost:8081/upload/goToUpload
版权声明:本文内容由互联网用户自发贡献,该文观点仅代表作者本人。本站仅提供信息存储空间服务,不拥有所有权,不承担相关法律责任。如发现本站有涉嫌侵权/违法违规的内容,请联系我们,一经查实,本站将立刻删除。
如需转载请保留出处:https://51itzy.com/kjqy/37830.html