
一、自定义指令
1.指令介绍
- 内置指令:v-html、v-if、v-bind、v-on… 这都是Vue给咱们内置的一些指令,可以直接使用
- 自定义指令:同时Vue也支持让开发者,自己注册一些指令。这些指令被称为自定义指令
每个指令都有自己各自独立的功能
2.自定义指令
概念:自己定义的指令,可以封装一些DOM操作,扩展额外的功能
3.自定义指令语法
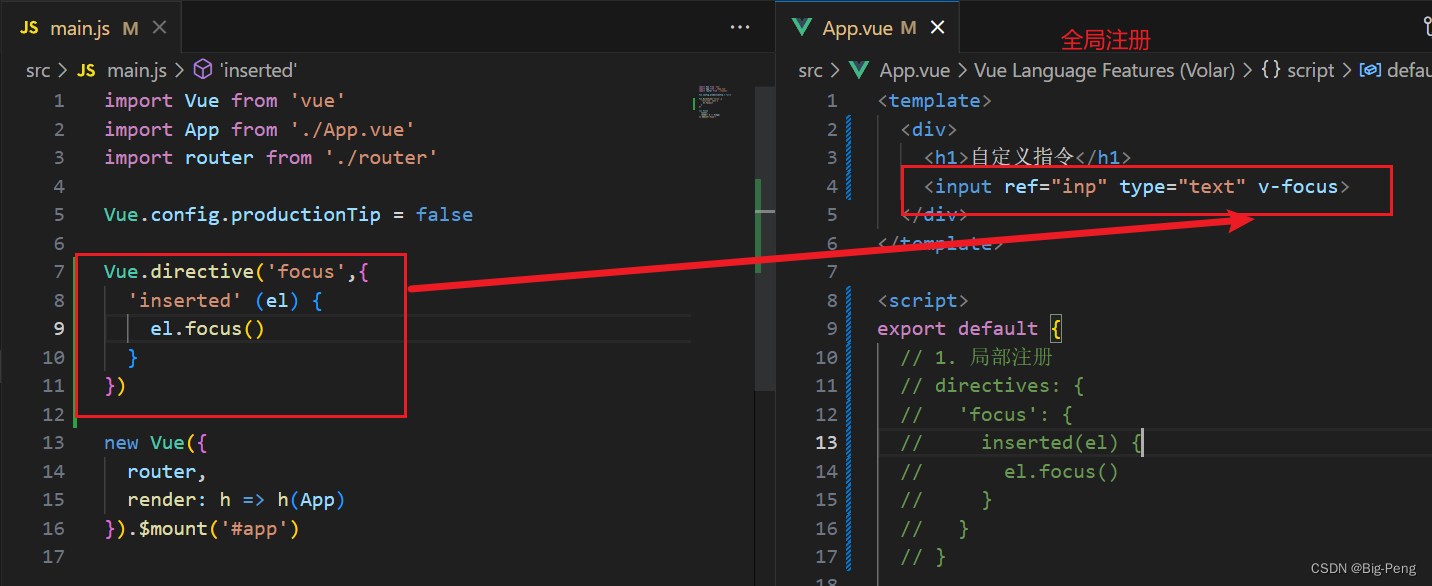
- 全局注册
//在main.js中 Vue.directive('指令名', {
      "inserted" (el) {
      // 可以对 el 标签,扩展额外功能 el.focus() } })
讯享网 - 局部注册
讯享网
//在Vue组件的配置项中 directives: { "指令名": { inserted (el) { // 可以对 el 标签,扩展额外功能 el.focus() } } } - 使用指令
注意:在使用指令的时候,一定要先注册,再使用,否则会报错
使用指令语法: v-指令名。如:注册指令时不用加v-前缀,但使用时一定要加v-前缀
4.指令中的配置项介绍
inserted:被绑定元素插入父节点时调用的钩子函数
el:使用指令的那个DOM元素
5.代码示例
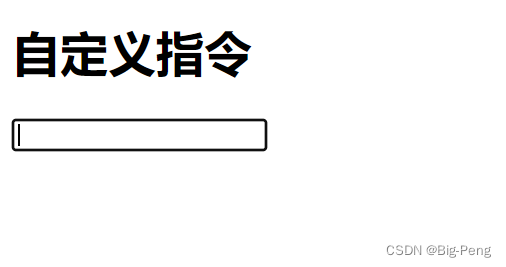
需求:当页面加载时,让元素获取焦点(autofocus在safari浏览器有兼容性)
App.vue
<div> <h1>自定义指令</h1> <input v-focus ref="inp" type="text"> </div> 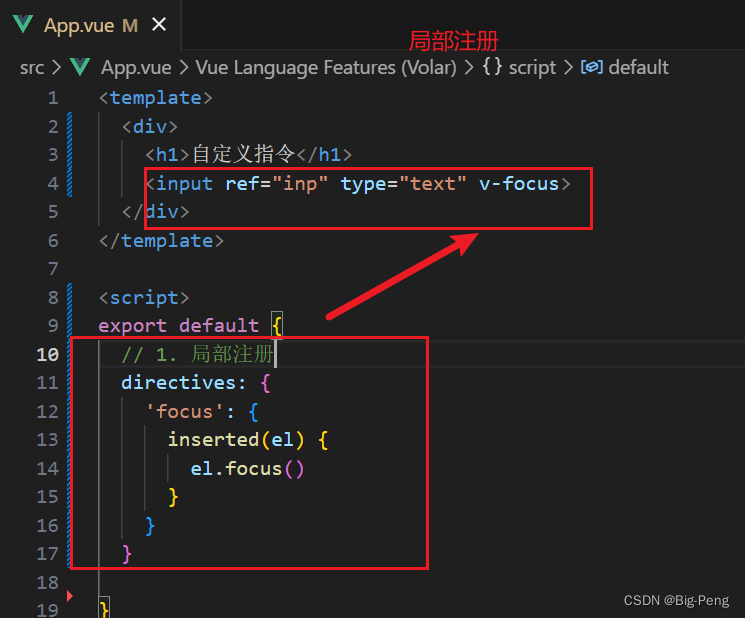
效果:

二、自定义指令-指令的值
1.需求
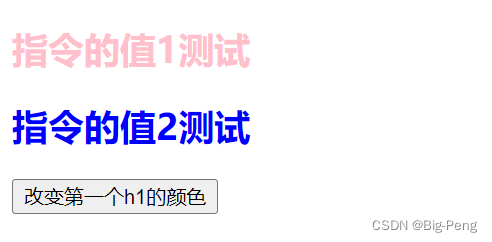
实现一个 color 指令 - 传入不同的颜色, 给标签设置文字颜色
2.语法
1.在绑定指令时,可以通过“等号”的形式为指令 绑定 具体的参数值
讯享网<div v-color="color">我是内容</div>
2.通过 binding.value 可以拿到指令值,指令值修改会 触发 update 函数
directives: {
    color: {
    inserted (el, binding) {
    el.style.color = binding.value }, update (el, binding) {
    el.style.color = binding.value } } }
3.代码示例
App.vue
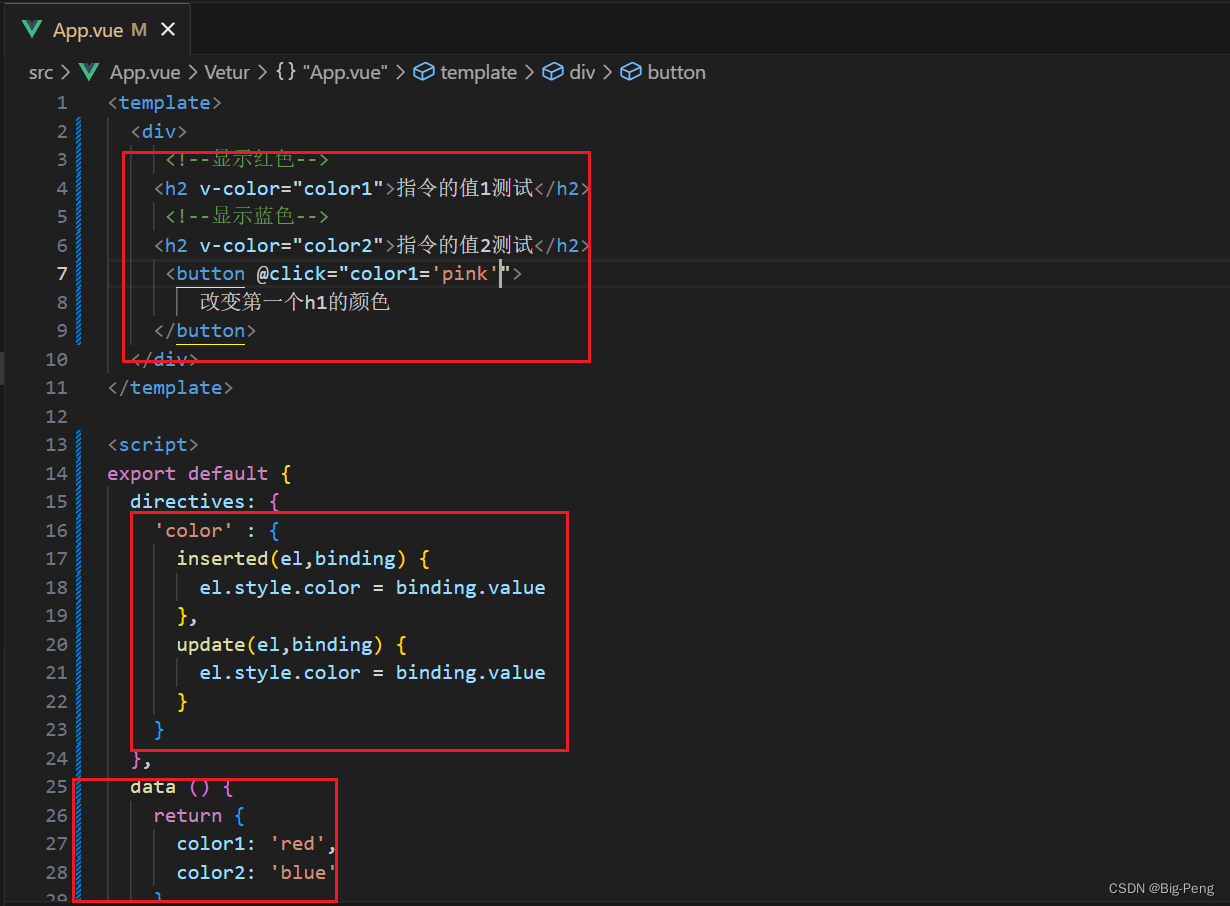
讯享网<template> <div> <!--显示红色--> <h2 v-color="color1">指令的值1测试</h2> <!--显示蓝色--> <h2 v-color="color2">指令的值2测试</h2> <button @click="color1='pink'"> 改变第一个h1的颜色 </button> </div> </template> <script> export default {
      directives: {
      'color' : {
      inserted(el,binding) {
      el.style.color = binding.value }, update(el,binding) {
      el.style.color = binding.value } } }, data () {
      return {
      color1: 'red', color2: 'blue' } } } </script> <style> </style>
三、自定义指令-v-loading指令的封装
1.场景
实际开发过程中,发送请求需要时间,在请求的数据未回来时,页面会处于空白状态 => 用户体验不好
2.需求
封装一个 v-loading 指令,实现加载中的效果
3.分析
1.本质 loading效果就是一个蒙层,盖在了盒子上
2.数据请求中,开启loading状态,添加蒙层
3.数据请求完毕,关闭loading状态,移除蒙层
4.实现
1.准备一个 loading类,通过伪元素定位,设置宽高,实现蒙层
2.开启关闭 loading状态(添加移除蒙层),本质只需要添加移除类即可
3.结合自定义指令的语法进行封装复用
.loading:before {
    content: ""; position: absolute; left: 0; top: 0; width: 100%; height: 100%; background: #fff url("./loading.gif") no-repeat center; }
5.代码实现
讯享网<template> <div class="main"> <div class="box" v-loading="isLoading"> <ul> <li v-for="item in list" :key="item.id" class="news"> <div class="left"> <div class="title">{


  { item.title }}</div> <div class="info"> <span>{


  { item.source }}</span> <span>{


  { item.time }}</span> </div> </div> <div class="right"> <img :src="item.img" alt=""> </div> </li> </ul> </div> </div> </template> <script> // 安装axios => yarn add axios || npm i axios import axios from 'axios' // 接口地址:http://hmajax.itheima.net/api/news // 请求方式:get export default {
      directives: {
      'loading': {
      inserted(el,binding) {
      binding.value ? el.classList.add('loading') : el.classList.remove('loading') }, update(el,binding) {
      binding.value ? el.classList.add('loading') : el.classList.remove('loading') } } }, data () {
      return {
      list: [], isLoading: true, isLoading2: false } }, async created () {
      // 1. 发送请求获取数据 const res = await axios.get('http://hmajax.itheima.net/api/news') setTimeout(() => {
      // 2. 更新到 list 中,用于页面渲染 v-for this.list = res.data.data this.isLoading = false }, 2000) } } </script> <style> .loading:before {
      content: ''; position: absolute; left: 0; top: 0; width: 100%; height: 100%; background: #fff url('./loading.gif') no-repeat center; } .box2 {
      width: 400px; height: 400px; border: 2px solid #000; position: relative; } .box {
      width: 800px; min-height: 500px; border: 3px solid orange; border-radius: 5px; position: relative; } .news {
      display: flex; height: 120px; width: 600px; margin: 0 auto; padding: 20px 0; cursor: pointer; } .news .left {
      flex: 1; display: flex; flex-direction: column; justify-content: space-between; padding-right: 10px; } .news .left .title {
      font-size: 20px; } .news .left .info {
      color: #; } .news .left .info span {
      margin-right: 20px; } .news .right {
      width: 160px; height: 120px; } .news .right img {
      width: 100%; height: 100%; object-fit: cover; } </style>
开始:

获取数据:

版权声明:本文内容由互联网用户自发贡献,该文观点仅代表作者本人。本站仅提供信息存储空间服务,不拥有所有权,不承担相关法律责任。如发现本站有涉嫌侵权/违法违规的内容,请联系我们,一经查实,本站将立刻删除。
如需转载请保留出处:https://51itzy.com/kjqy/16863.html