
前言

首先来检验介绍一下实现的步骤
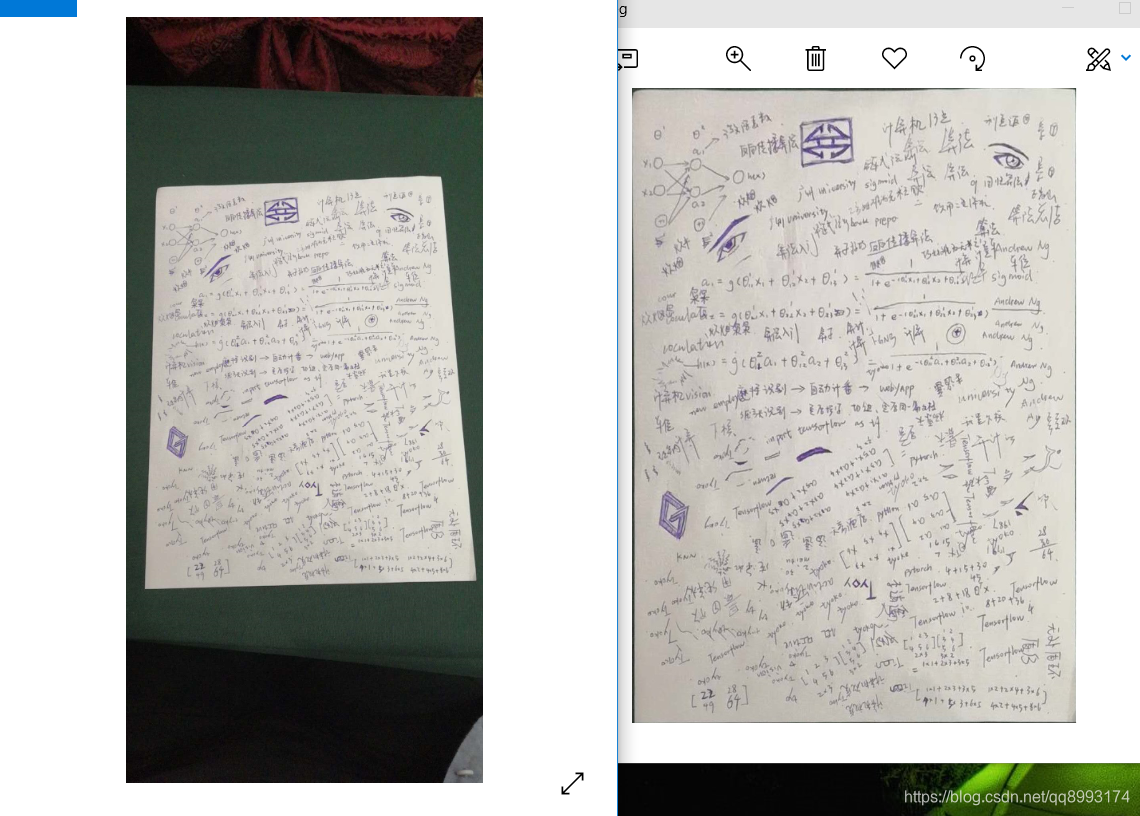
1、将图像转为固定高度的图片(这一步是为了适配边缘检测的阈值,下面会介绍)
2、用opencv的边缘检测算法提取边缘
3、找出闭合的轮廓并计算他们的面积,提取最大面积
4、拟合最大面积的的四边形的4个顶点
5、通过opencv的透视变化拟合出长方形的纸张边缘
一、边缘检测
import cv2 import numpy as np # 固定尺寸 def resizeImg(image, height=900): h, w = image.shape[:2] pro = height / h size = (int(w * pro), int(height)) img = cv2.resize(image, size) return img # 边缘检测 def getCanny(image): # 高斯模糊 binary = cv2.GaussianBlur(image, (3, 3), 2, 2) # 边缘检测 binary = cv2.Canny(binary, 60, 240, apertureSize=3) # 膨胀操作,尽量使边缘闭合 kernel = np.ones((3, 3), np.uint8) binary = cv2.dilate(binary, kernel, iterations=1) return binary path = r'C:\Users\wzg\Desktop\test.jpg' outpath = r'C:\Users\wzg\Desktop\getCanny.jpg' img = cv2.imread(path) img = resizeImg(img) print('shape =', img.shape) binary_img = getCanny(img) cv2.imwrite(outpath, binary_img) # output: shape = (900, 420, 3)讯享网

二、找出纸张边缘


讯享网# 代码承接上文 # 求出面积最大的轮廓 def findMaxContour(image): # 寻找边缘 _, contours, _ = cv2.findContours(image, cv2.RETR_EXTERNAL, cv2.CHAIN_APPROX_NONE) # 计算面积 max_area = 0.0 max_contour = [] for contour in contours: currentArea = cv2.contourArea(contour) if currentArea > max_area: max_area = currentArea max_contour = contour return max_contour, max_area path = r'C:\Users\wzg\Desktop\test.jpg' outpath = r'C:\Users\wzg\Desktop\findMaxContour.jpg' img = cv2.imread(path) img = resizeImg(img) binary_img = getCanny(img) max_contour, max_area = findMaxContour(binary_img) cv2.drawContours(img, max_contour, -1, (0, 0, 255), 3) cv2.imwrite(outpath, img)
三、找出四边形的四个顶点

# 代码承接上文 # 多边形拟合凸包的四个顶点 def getBoxPoint(contour): # 多边形拟合凸包 hull = cv2.convexHull(contour) epsilon = 0.02 * cv2.arcLength(contour, True) approx = cv2.approxPolyDP(hull, epsilon, True) approx = approx.reshape((len(approx), 2)) return approx path = r'C:\Users\wzg\Desktop\test.jpg' outpath = r'C:\Users\wzg\Desktop\getBoxPoint.jpg' img = cv2.imread(path) img = resizeImg(img) binary_img = getCanny(img) max_contour, max_area = findMaxContour(binary_img) boxes = getBoxPoint(max_contour) for box in boxes: cv2.circle(img, tuple(box), 5, (0, 0, 255), 2) print(boxes) cv2.imwrite(outpath, img)
四、透视变换

讯享网# 代码承接上文 # 适配原四边形点集 def adaPoint(box, pro): box_pro = box if pro != 1.0: box_pro = box/pro box_pro = np.trunc(box_pro) return box_pro # 四边形顶点排序,[top-left, top-right, bottom-right, bottom-left] def orderPoints(pts): rect = np.zeros((4, 2), dtype="float32") s = pts.sum(axis=1) rect[0] = pts[np.argmin(s)] rect[2] = pts[np.argmax(s)] diff = np.diff(pts, axis=1) rect[1] = pts[np.argmin(diff)] rect[3] = pts[np.argmax(diff)] return rect # 计算长宽 def pointDistance(a, b): return int(np.sqrt(np.sum(np.square(a - b)))) # 透视变换 def warpImage(image, box): w, h = pointDistance(box[0], box[1]), \ pointDistance(box[1], box[2]) dst_rect = np.array([[0, 0], [w - 1, 0], [w - 1, h - 1], [0, h - 1]], dtype='float32') M = cv2.getPerspectiveTransform(box, dst_rect) warped = cv2.warpPerspective(image, M, (w, h)) return warped path = r'C:\Users\wzg\Desktop\test.jpg' outpath = r'C:\Users\wzg\Desktop\result.jpg' image = cv2.imread(path) ratio = 900 / image.shape[0] img = resizeImg(image) binary_img = getCanny(img) max_contour, max_area = findMaxContour(binary_img) boxes = getBoxPoint(max_contour) boxes = adaPoint(boxes, ratio) boxes = orderPoints(boxes) # 透视变化 warped = warpImage(image, boxes) cv2.imwrite(outpath, warped)
五、其他


解决思路是这样的:
1、将两张合同通过我上面的算法提取出正四边形的纸张
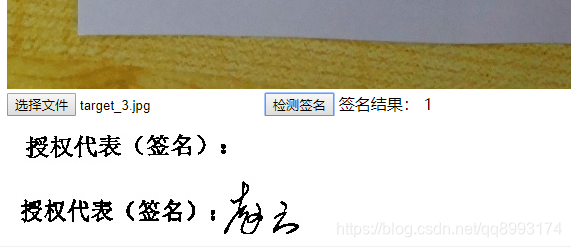
2、通过合同的预设点设置检测区域(比如上面在空白合同的位置标注矩形的左上角和右下角)
3、裁剪出标注区域(同样像素)并做二值化处理(转为只有0 和 1的矩阵)
4、因为写了的和没写的合同像素值有差别,那么如校验的大于一个阈值,那么就签了名,反之亦然
解决效果可以如下示(我就不贴代码了,逃~)
版权声明:本文内容由互联网用户自发贡献,该文观点仅代表作者本人。本站仅提供信息存储空间服务,不拥有所有权,不承担相关法律责任。如发现本站有涉嫌侵权/违法违规的内容,请联系我们,一经查实,本站将立刻删除。
如需转载请保留出处:https://51itzy.com/kjqy/62002.html